
If I had a penny for every so-called trick for getting your roses to bloom more, I’d be a rich woman. My Grandma was green-fingered when it came to her roses, and so I tend to trust her advice more than anything I see on TikTok. Grandad had his allotment, and Grandma had roses that won awards at the local show, and that’s why I trust her advice.
Sadly, she’s no longer with us, so I can’t ask her what she thinks about this, but I can take an educated guess. Plus, my roses are just as good as any you’ll see on social media, so clearly I’m doing something right. But this isn’t about me, it’s about you and how you can get bumper blooms on your roses.
So, I decided to enlist the help of Madame Dubois, who lives in the next tiny village to mine, with whom I made friends on my dog walks. She invited me one day for a coffee, and despite our obvious language barrier, we’ve become firm friends, and everything she touches in her garden seems to grow, blossom, and bloom.
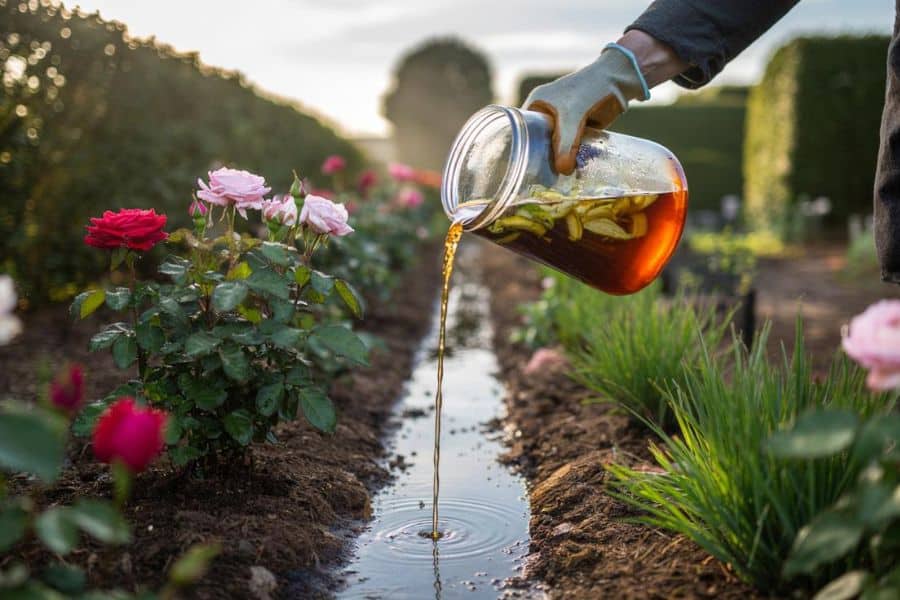
7 Easy Tricks to Make Your Roses Bloom
According to Madame Dubois, there are a few tricks that really do change how a rose performs across a season, some for the better and a couple to steer clear of.
No. 1 The Honey and Tomato Cutting Trick
This trick has recently been featured on TikTok and gone viral, so I was skeptical. You take a rose cutting, push it through a ripe tomato, dip the cut end in honey first, and plant the whole thing in soil.
The claim is that the tomato feeds the cutting while it roots, and the honey acts as a natural rooting hormone.
This was one where Madame Dubois shook her head and gave me one of her looks. She told me the tomato is doing more harm than good, because a soft fruit buried in damp soil is a fungal infection waiting to happen.
The honey part isn’t so bad because honey has mild antibacterial properties, and dipping a cutting in diluted honey before planting can help keep the cut end from going rotten while it works on putting out roots.
Her advice was that if you want to try a version that actually has a chance, skip the tomato. Mix a teaspoon of raw honey into a cup of warm water, let it cool, dip your cutting, and push it into damp sand or a gritty compost mix. Cover with a cut plastic bottle for humidity.
No. 2 Banana Peels for Potassium
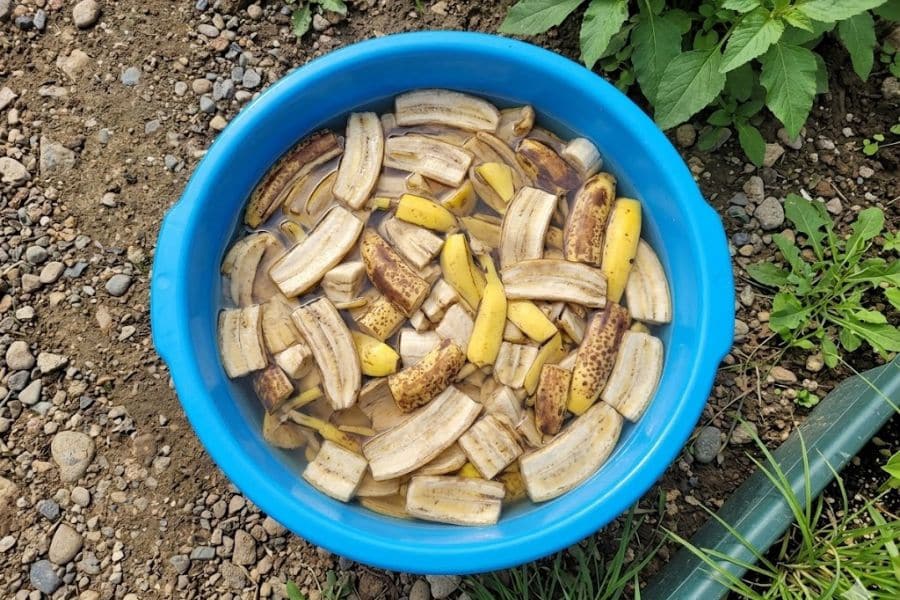
Banana peels are the most-recommended kitchen scrap for roses. Why? Because roses are heavy potassium feeders, and potassium is what drives flower production and stem strength.
Banana peels contain a decent amount of it, along with smaller quantities of phosphorus, calcium, and magnesium.
The mistake most people make is burying a whole peel right at the base of the plant and expecting fireworks. A banana peel takes months to break down in cool soil, and in that time, it can attract flies and slugs.
What works better is chopping the peel into small pieces and burying it about six inches out from the main stem, where the feeder roots are. Or, easier still, drying peels on a windowsill until they’re brittle, grinding them in an old coffee grinder, and sprinkling the powder around the base in spring.
Madame Dubois does a third version. She drops her peels into a bucket of rainwater, covers it, and leaves it for two weeks. The resulting brown sludge is diluted about 1:5 with water and poured around her roses once a month from April through July.
No. 3 Epsom Salts for Magnesium
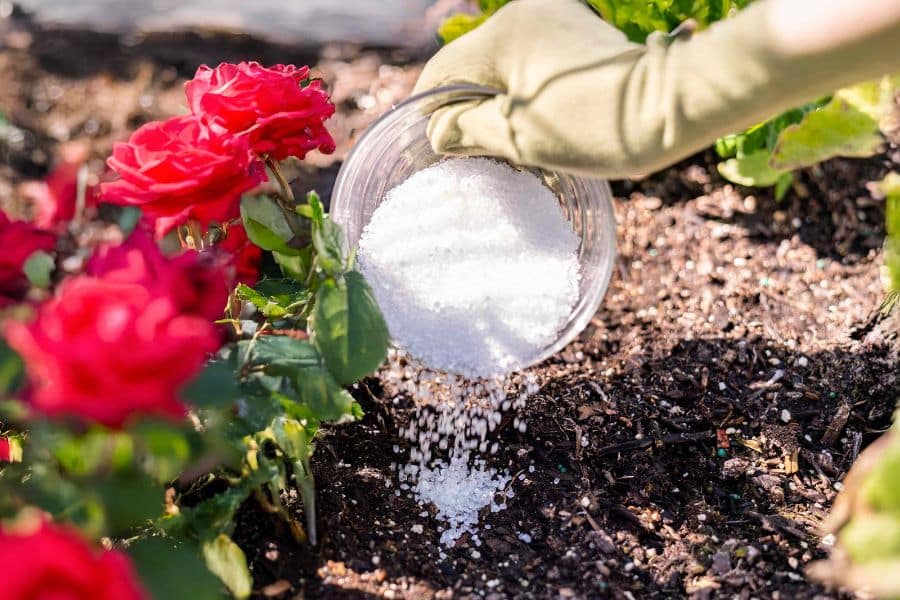
Magnesium sulfate, sold as Epsom salts, is the one piece of kitchen-adjacent rose advice with some chemistry behind it, or so I’m told, as I’m not really a chemistry gal. Magnesium is central to chlorophyll production, and a rose short on magnesium will show it in yellowing leaves with green veins, usually on the lower part of the plant first.
Magnesium deficiency in soil is common, especially in the sandy clay we have here in parts of the Charente. A tablespoon of Epsom salts dissolved in a gallon of water, applied at the base of each established rose in early spring and again after the first flush of blooms.
The caveat is that you shouldn’t be throwing Epsom salts at a rose without knowing your soil. If your soil already has plenty of magnesium, adding more can actually block the uptake of calcium and potassium and create a different deficiency. You can get a basic soil test for almost nothing at a garden center.
No. 4 Coffee Grounds, Used Carefully
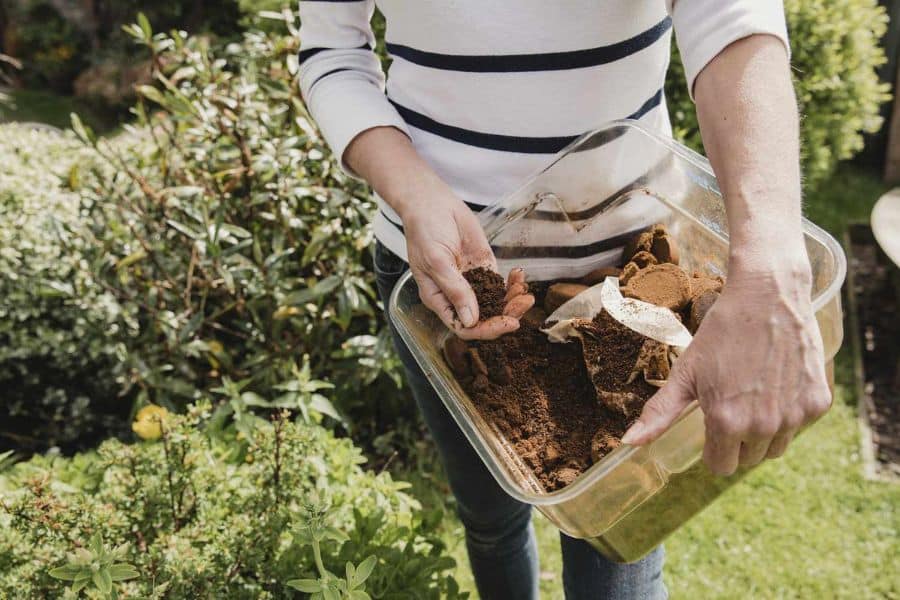
Used coffee grounds are the kitchen scrap most often dumped straight onto rose beds, and they’re also the one most likely to cause damage when used incorrectly. Fresh, undiluted grounds are mildly acidic and contain enough nitrogen to burn surface roots if you pile them on thick.
The way they work for me is in the compost pile. Coffee grounds composted with shredded leaves and kitchen vegetable trimmings for six months turn into a dark, crumbly offering that I work into the soil around my roses in late winter.
The nitrogen has mellowed by then, the acidity has buffered, and what’s left is genuine organic matter that improves drainage in heavy soil and water retention in sandy soil.
If you want to use grounds directly, the safer version is a thin scattering, no more than a quarter inch deep, raked lightly into the top of the mulch, and watered in. Don’t do this more than once a month, and don’t do it at all in pots, where the grounds can form a water-repellent crust on the surface.
No. 5 Eggshells, Crushed and Composted
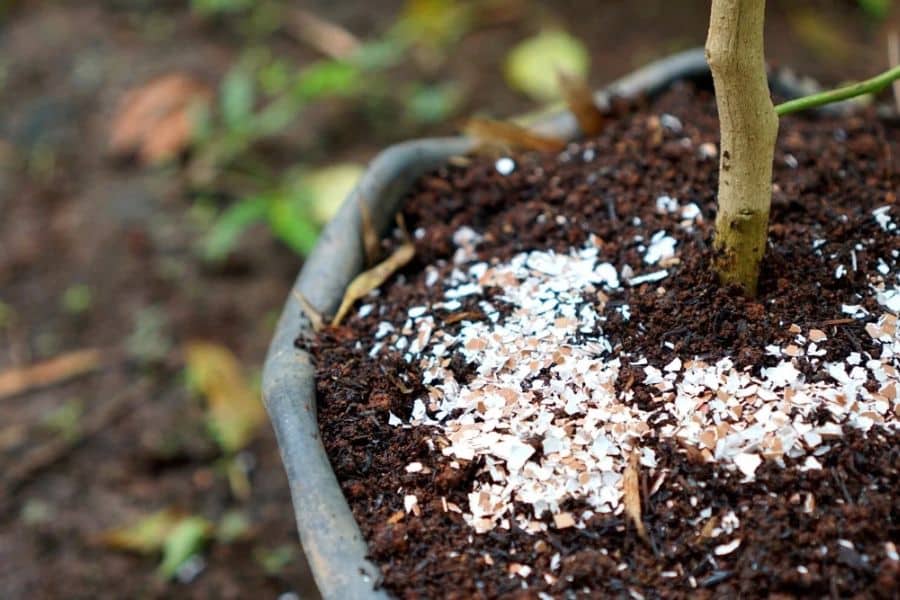
Eggshells are mostly calcium carbonate, and calcium is good for rose health. It strengthens cell walls, helps with disease resistance, and contributes to good bud formation. The problem is that a whole eggshell sitting on top of the soil is decorative and almost nothing else, because calcium carbonate breaks down very slowly unless it’s ground fine and given time.
Madame Dubois has chickens and saves the shells in a jar by her sink, rinses them, lets them dry on the windowsill, then crushes them with a rolling pin and runs them through her spice grinder when the jar is full. I got a full demonstration, so I know what to do.
The resulting powder is mixed into the planting hole when she plants a new rose, or scratched into the soil surface around established plants once a year in the fall. By the following growing season, some of that calcium has worked its way into a form the roots can actually use.
She also told me about something her mom before her did: boil eggshells and pour the cooled water on the roses. She was quick to tell me, “C’est juste une vieille légende,” an old wives’ tale and not something serious gardeners do.
No. 6 Diluted Honey as a Rooting Aid
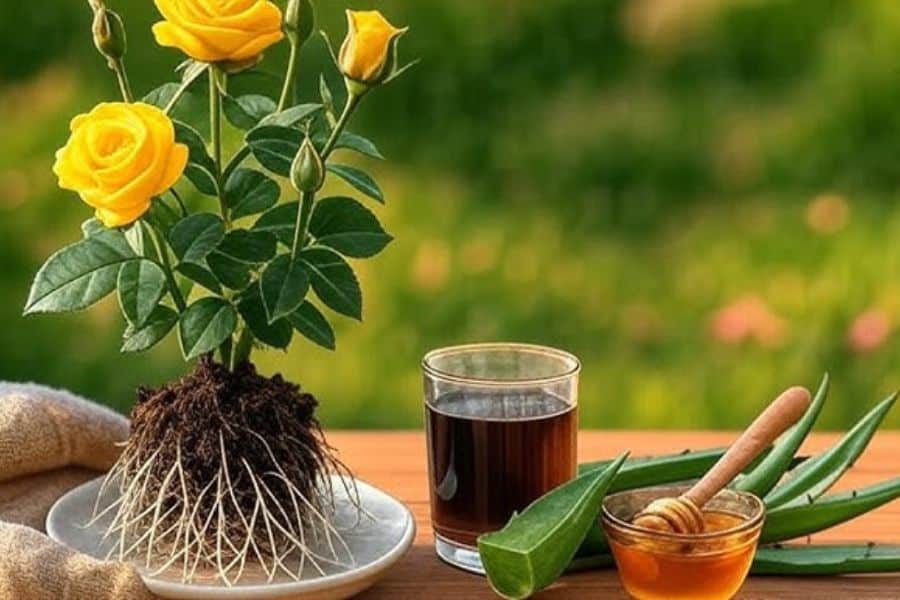
Back to honey, this time without the tomato. Commercial rooting hormone is a synthetic auxin that triggers root development at the cut end of a stem. Honey isn’t a rooting hormone, but raw honey contains enzymes and antimicrobial compounds that can help protect a cutting from infection during the vulnerable period before it takes root.
If you don’t want to buy rooting hormone, honey is a reasonable kitchen substitute. Use raw, unpasteurized honey if you can get it, because processing in supermarkets kills most of the compounds that make it useful. A teaspoon to a cup of warm water, dip and plant.
No. 7 Garlic and Onion Skins as a Pest Barrier
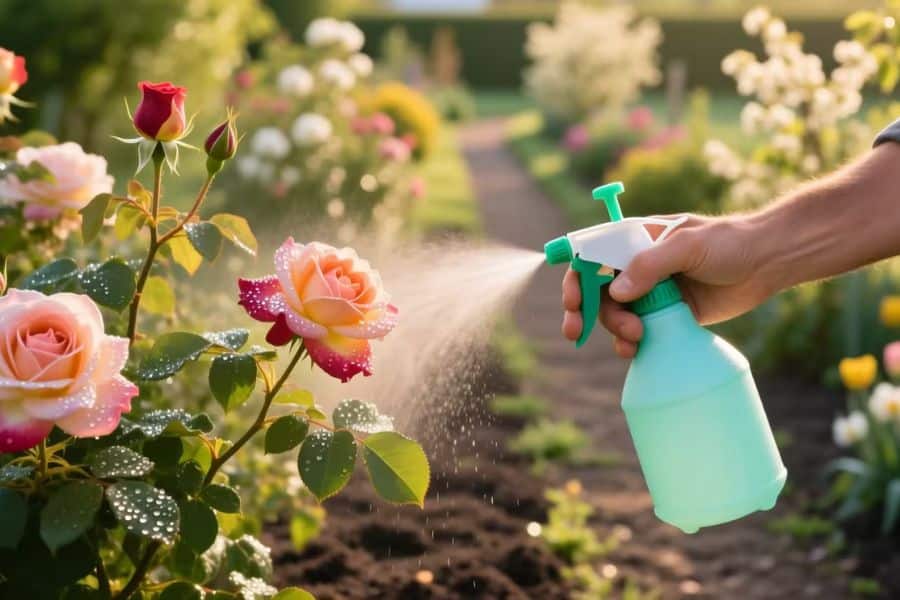
The last one keeps the aphids off long enough for the blooms to happen. Garlic and onion skins, the papery outer layers most people throw straight in the trash, can be steeped in hot water for about 24 hours, strained, diluted roughly one to four with plain water, and sprayed onto the underside of rose leaves in early morning.
The sulfur compounds released by the skins are mildly repellent to aphids and a few other soft-bodied pests. It washes off in rain, so you need to reapply every week or so during the worst of aphid season. What it does well is keep populations down before they explode, especially on the new growth where aphids cluster.
Madame Dubois handed me a jar of brown garlic-skin water on one of our coffee dates, with full instructions. And, of course, it works.