
The best time to transplant a hydrangea is when it’s dormant, late fall after the leaves have dropped or very early spring before the buds break. In most of the US, that’s November through March, with the sweet spot being the few weeks right after leaf drop while the soil is still workable.
Move them then, and they transplant easily. If you move them in July, when they’re in full leaf and bloom, you’ll spend the rest of the summer watching them wilt, sulk, and probably die.
The job itself isn’t complicated; you just need to pick the right window, dig a bigger root ball than you think, and keep the water up afterward.

When to Transplant Hydrangeas, By US Zone
Once they’ve dropped in fall, the plant has pulled its energy back into the roots and crown, so you can lift it without interrupting much. In spring, get in there before the fat green buds start swelling along the stems.
The exact window shifts depending on where you live, so here’s a rough guide by USDA zone.
| Zone | Fall window | Spring window |
| Zones 3-4 | Late September to mid-October | April to early May |
| Zones 5-6 | October to mid-November | March to April |
| Zones 7-8 | November to December | February to March |
| Zone 9 | December to January | January to February |
| Zone 10 | December to February | Not recommended, too warm |
Moving a hydrangea in fall is likely to go better than in spring because the roots have months to settle before the plant has to push out leaves and flowers.
In warmer zones especially, a fall transplant lets the plant root through a mild winter and hit the ground running in spring. In the coldest zones, spring is often safer because a late fall move can leave a plant with underdeveloped roots sitting in frozen soil for months.
Why Timing Matters So Much

A hydrangea in full leaf constantly pulls water up through its roots to keep those big leaves and flower heads from collapsing. The minute you sever a chunk of its root system with a spade, you cut off that water supply, and the leaves wilt within hours.
Even if the plant eventually recovers, you’ve set it back a full year and sometimes two.
A dormant hydrangea isn’t drawing water the same way. The leaves are gone, there’s no bloom to support, and the roots are mostly resting. You can disturb many of them, and the plant handles it fine because nothing above ground is making demands.
Top Tip: If you absolutely have to move one in summer, cut it back hard first, by about a third, to reduce the load on the roots. You’ll lose this year’s blooms, but you’ve got a better chance of keeping the plant. Then give it lots of water for the next 6 weeks.
Found this useful? Get more like it in your inbox as a Lifestyle Library Insider.
How to Transplant a Hydrangea, Step by Step
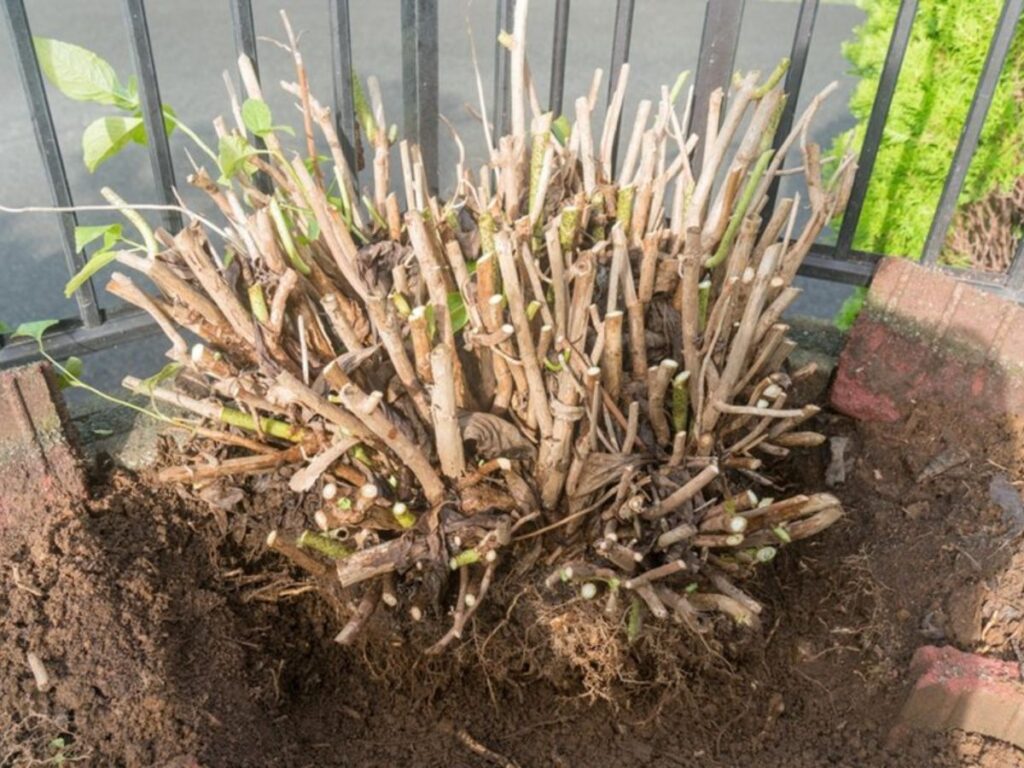
Pick a cool, overcast day if you can, and have the new hole dug before you start lifting the old plant.
- Dig the new hole first, about twice as wide as the root ball you expect and the same depth. Loosen the soil in the bottom and mix in a couple of shovelfuls of compost.
- Water the hydrangea deeply the day before you move it, so the soil clings to the roots and the plant goes into the move properly hydrated.
- Mark a circle around the plant about 12 to 18 inches out from the main stems for a medium shrub, wider for a mature one.
- Push a sharp spade straight down all the way around the circle, cutting the roots cleanly rather than tearing them.
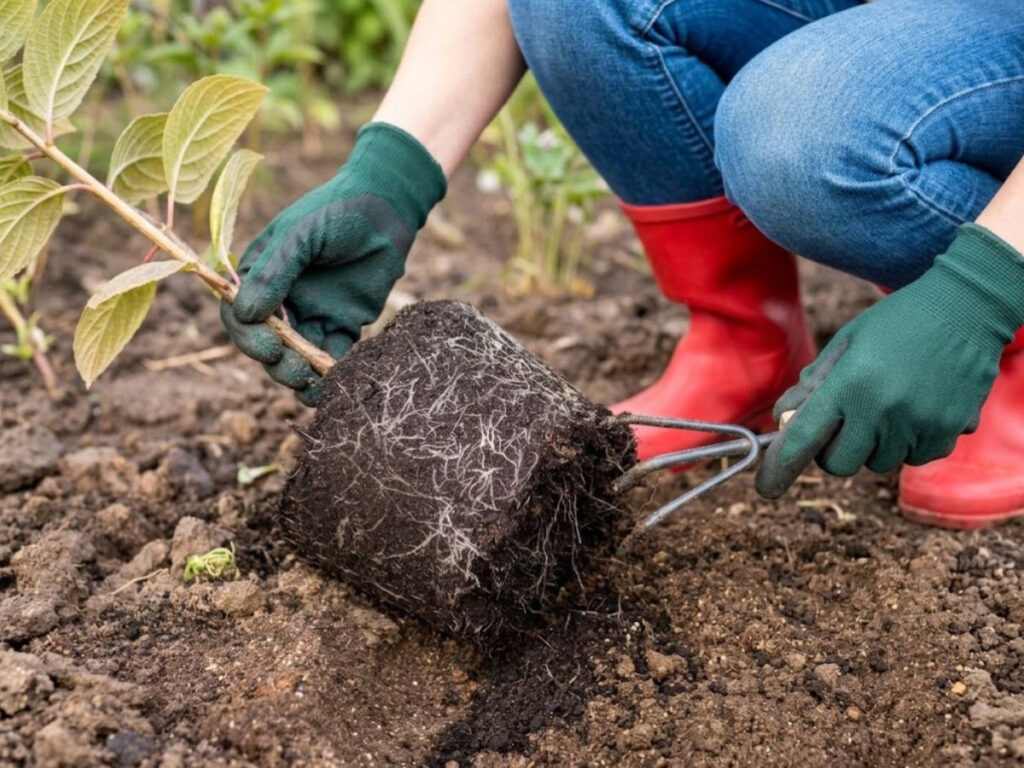
- Work the spade underneath and lever the root ball up.
- Carry it to the new spot and set it in the hole at the same depth it was before. Planting too deep is a common mistake and can rot the crown.
- Backfill with the soil you dug out, firming it gently with your hands as you go. No stomping.
- Water in slowly and deeply, enough to settle the soil around the roots and get rid of any air pockets.
- Mulch with 2 to 3 inches of bark or compost, keeping it a couple of inches away from the stems.
The plant will look fine through winter because it’s dormant anyway, and the real test comes when it starts pushing new growth in spring.
Where to Replant: Picking a Better Spot
Most hydrangeas do best with morning sun and afternoon shade. The big exception is panicle hydrangeas (Hydrangea paniculata, the ones with cone-shaped flower heads like Limelight), which handle full sun well and often flower better.
Mopheads and lacecaps, which most people have, scorch in hot afternoon sun and wilt dramatically on warm days, even when the soil is wet.
The soil wants to be rich and well-drained. Hydrangeas hate sitting in soggy ground, but they also hate drying out, so you want a spot that holds moisture without becoming waterlogged.
If your soil is heavy clay, dig in plenty of compost before you plant. If it’s sandy, same answer.
Give the plant room. A mature mophead can easily reach 5 feet across, and panicles can be even bigger. Plant it tight against a path or wall, and you’ll have to prune it hard every year to keep it in check, a losing battle you don’t need to fight.
What to Expect After the Move
A hydrangea moved in fall or early spring will usually leaf out at its normal time and may bloom reasonably well the first summer, though don’t be surprised if the display is a bit thin. The plant is spending its energy rebuilding roots, not giving you a beautiful blooming display.
By the second summer, it should be back to its old self.
The one thing that will undo everything is letting it dry out in that first year. The root system is smaller, and the plant can’t reach as deep for water, so a long dry spell will hit it hard. Water deeply once a week through the first growing season, more in a heatwave, and keep that mulch topped up to lock the moisture in.
Don’t fertilize at planting. Fresh compost in the hole and a mulch layer on top is all it needs for the first year, and a hit of fertilizer on stressed roots does more harm than good.
Wait until the following spring, when you can see new growth coming, and then feed it lightly if you want to.
Disclaimer: This article is for general information only and is not professional advice. It may contain affiliate links. Please see our full Editorial Policy for details.
Become a Lifestyle Library Insider
Health tips, money know-how, travel deals and garden ideas for life after 50, straight to your inbox.

Kylie Lang is a nationally syndicated travel journalist with bylines on the Associated Press Wire & more, a lifestyle writer, and the founder and editor of Your Lifestyle Library (yourlifestylelibrary.com). She holds a BA (Honours) in History from the University of Kent and is a member of the British Guild of Travel Writers.