
I hated rhubarb when I was a kid. It had that weird bitter taste that made your teeth feel funny. But my mom loved it. She grew loads of the stuff, and so we had to eat it. Luckily, it was always served to us with homemade custard, which did make it taste slightly better.
Later in life, when I became interested in gardening, Mom told me she’d learned something called The Rhubarb Method from my Grandad, a man of few words but with a passion for his allotment.
His top tip was to cover his rhubarb plants with a pot until early spring, which forced the growth. And hey presto, when he lifted the lid off, there was a more or less fully fledged, glorious dark pink stem of rhubarb, like magic.
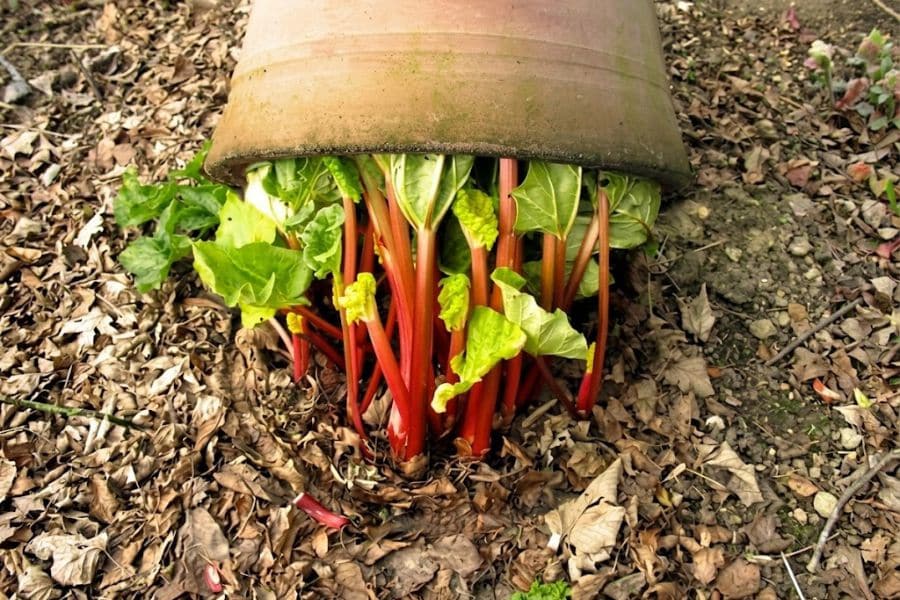
The Rhubarb Method Explained
Forcing rhubarb means covering the crown in late winter with something big so no light can get in. The plant still wants to grow when the soil warms up, so it sends up stems anyway.
Except now those stems are groping around in the pitch dark looking for the sun, which means they grow long, thin, and pale, and the usual tart green fibrousness of a rhubarb stalk doesn’t have a chance to develop.
What you end up pulling out from under the pot is pink, tender, and sweet enough to poach with barely any sugar, nothing like the tartness of what I experienced as a child.
It’s super simple. All you need to do is put a pot over the plant, wait about 6 to 8 weeks, lift the pot off, and have rhubarb before the tulips are out.
It dates back to the 1800s in Chatsworth, Yorkshire, giving us the Rhubarb Triangle, which is a real place and a very serious business.
The reason it works so well is that rhubarb is a cold-climate plant that needs a proper winter chill to break dormancy. Once it’s had its cold snap and the soil temperature starts creeping up in late winter, the crown is primed to shoot. Forcing just hijacks that moment.
The stems still come up on the plant’s own schedule, only you’ve given them a dark tunnel to grow into so they stretch upward fast, looking for light that never arrives.
When and How to Actually Do It
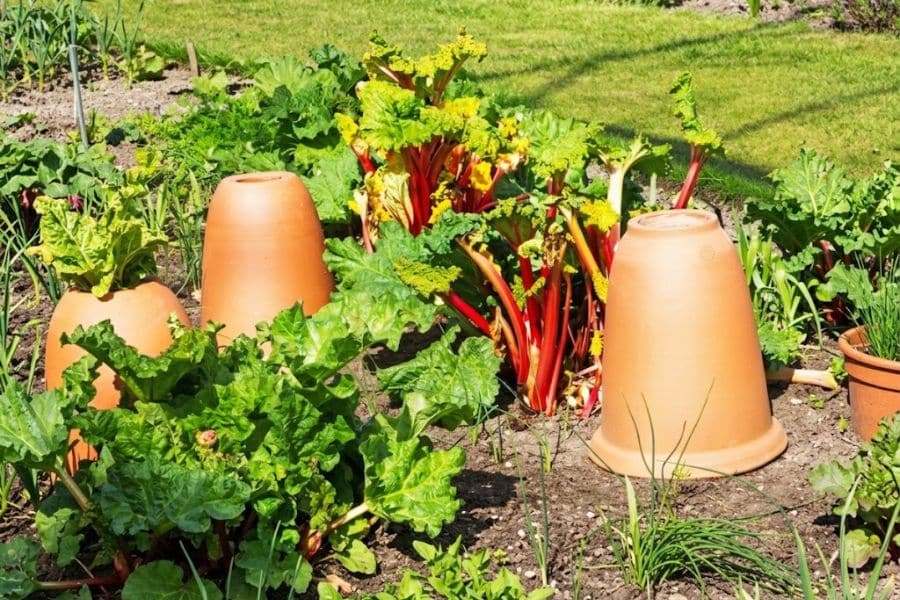
You want to cover the crown in late winter, before the plant has started sending up any new growth on its own. In most of the US, that’s somewhere between late January and early March, depending on how far north you are.
The soil should still be cold to the touch, and there shouldn’t be any pink nubs poking through the crown yet. If you can already see stems starting to emerge, you’ve missed the window for this year.
If that happens, just note it in your phone for next year and make peace with the fact you’ll have rather tart rhubarb.
What you put over the crown doesn’t really matter. My granddad used a big terracotta long tom, the traditional forcing pot with a lid you can lift to check progress, and they look lovely if you can find one.
But you can pretty much use whatever’s around. A large upturned bucket with the handle removed, an old metal trash can, or a big plastic storage tub. Anything that blocks all the light and is tall enough to give the stems room to grow.
Aim for at least 18 inches of clearance above the crown. Weigh it down with a brick if it’s light enough to blow off in a gale.
A few practical bits worth knowing before you commit:
- Only force established crowns that are at least 3 years old, ideally older. First-year plants haven’t yet built up enough energy in the crown, and forcing will exhaust them.
- Don’t force the same crown two years in a row. Give it a full year off in between to recover, or rotate between two or three plants if you’ve got them.
- Try piling straw or fresh manure around the outside of the pot for extra warmth, which speeds things up by a week or two. Not essential, but if you’ve got a compost pile nearby, it’s an easy add.
- Check under the pot after about 4 weeks. If the stems are 10 to 12 inches tall and pale pink, you’re ready. If they’re still short, put the pot back and give it another week or two.
What to Do With the Stems Once You’ve Got Them
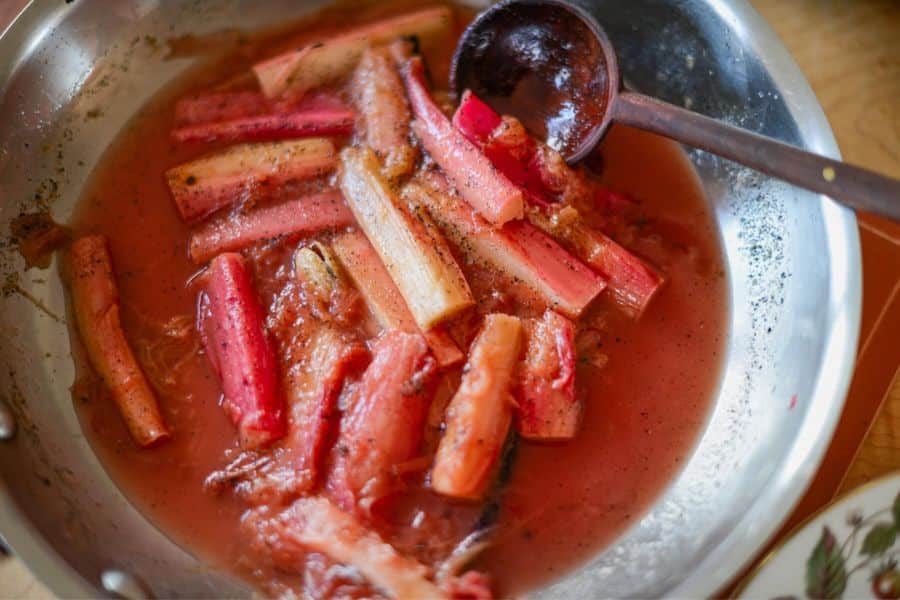
Forced rhubarb tastes different from the stuff you get later in the year. It’s more delicate, less tart, with an almost floral quality that gets lost once the plant is growing in full sun.
You want to cook it gently and not drown it in sugar the way you might with regular rhubarb, or you’ll flatten everything that made it worth the effort.
The classic thing to do is a slow poach. Chop the stems into 2-inch pieces, put them in a shallow baking dish with a couple of tablespoons of sugar and a splash of orange juice or a bit of grated ginger, cover with foil, and bake at 300°F for about 25 minutes.
They come out holding their shape, glossy, and that startling pink color you only get from forced stems. Serve them with yogurt for breakfast, spooned over ice cream, or folded into a sponge cake.
My grandma used to make a rhubarb fool with cold custard and whipped cream layered in a glass bowl. It was one of her specialties, and I’ve never seen it since.
One warning. The leaves contain oxalic acid and are poisonous, so cut them off and put them on the compost pile the moment you harvest the stems.
The stems themselves are fine; obviously, it’s just the leaves. Pull the stems rather than cutting them, twisting gently at the base until they come away, which is how the plant prefers to be harvested and reduces the risk of crown rot.
If You Don’t Have Rhubarb Yet
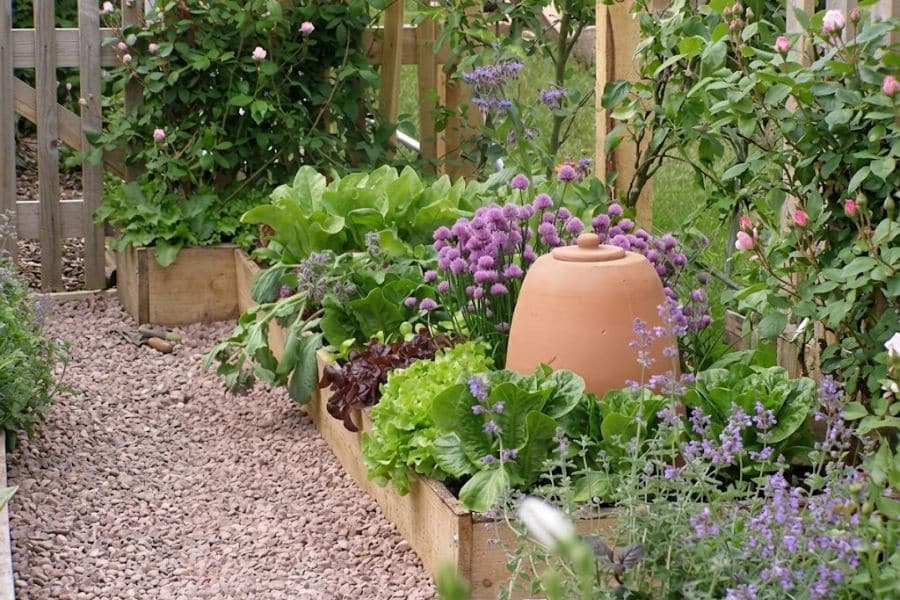
Rhubarb is one of the easiest edible plants to grow, which is why it was the backbone of every allotment and kitchen garden for generations.
It’s a perennial, so you plant it once, and it comes back every year for 10 or 15 years with almost no attention.
It doesn’t care about poor soil, doesn’t need staking, and slugs don’t like it because the oxalic acid puts them off. It’s perfect for lazy gardeners.
The usual way to start is with a crown, which is a chunk of dormant root with a bud or two on top, planted in late fall or early spring. Garden centers sell them, and you can also order them online from places like Stark Bro’s or Burpee.
Varieties worth looking for include Victoria, the classic all-purpose variety; Canada Red, which is smaller but a deeper red; and MacDonald, a good producer with reliable pink stems.
Dig a hole about a foot deep and wide, throw a shovelful of compost or well-rotted manure in the bottom, sit the crown on top with the bud just at soil level, and backfill. Water it in and then more or less leave it alone.
The hard part is the waiting. You aren’t supposed to harvest anything in the first year, and only a few stems in the second, so the crown has time to build itself up properly. From year 3 onward, you can start pulling in earnest, and from year 4 or 5 you can start forcing.
A few things worth knowing if you’re starting from scratch:
- Full sun is best, but rhubarb will tolerate part shade and still produce, just less enthusiastically.
- Give it space. A mature crown can spread 3 to 4 feet across, so don’t tuck it in next to something precious.
- Mulch generously in fall with compost or rotted manure. This is more or less all the feeding the plant needs.
- If flower stalks appear in summer, snap them off at the base. They take energy away from the stems and the crown, and you don’t want that.