
I’m still relatively new to gardening, but I’m lucky in the fact that I have plenty of friendly French neighbors only too willing to share their wisdom with me. Claude, the farmer at the top of the road, is particularly pleased to give me advice, both solicited and unsolicited.
A few months ago, he told me that the big sprawling hosta by my back door would be happier if I chopped it in half, and I remember nodding along while translating the French into what I hoped was the correct English. Did he really say chop it? In half? With what? A hundred and one questions were running around in my head, so I turned to my other trusty source, my mom.
She agreed with Claude and said that, yes, it was probably about time I divided my perennials and separated out my hosta. So, laying my trust in them both, I did exactly as instructed, and I’m pleased to say not only did it work, but my original plant is looking so much healthier because of it.
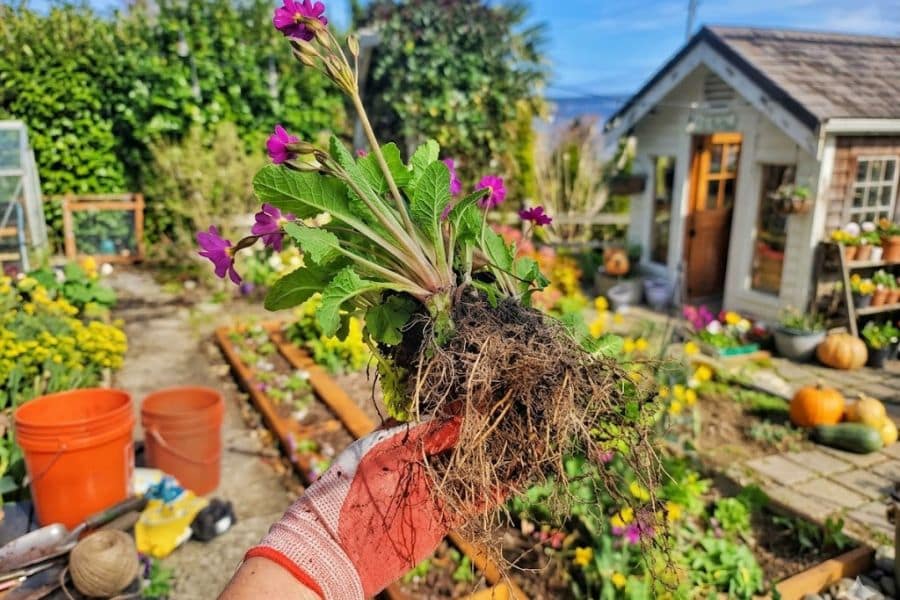
What Dividing Perennials Actually Means (and Why It’s Worth Doing)
Perennials are the plants that come back year after year on their own, the ones you plant once and then mostly leave alone, like hostas, daylilies, hardy geraniums, irises, sedum, asters, peonies, salvias, ornamental grasses, and a long list of other things.
The thing that nobody really mentions when you’re starting out is that most of them get bigger every year, and at some point, they outgrow themselves and start looking a bit sad and tired in the middle. That’s the moment they want to be split up.
Dividing is exactly what it sounds like. You lift the whole clump out of the ground, you separate it into smaller chunks with roots attached, and you replant the pieces somewhere, either back in the same spot, in a new bed, in a pot, or down the road at Claude’s, which I think he was angling for.
Each chunk becomes its own plant. You’ve doubled or tripled your stock for the price of an afternoon’s work.
Older clumps tend to flower less because the original root system has become congested and the center has begun to die back. Splitting them up gives each piece room, fresh soil, and a bit of a reset, and they nearly always come back stronger the following year.
So you’re doing the plant a favor and yourself a favor, and your beds end up looking fuller and less patchy, which I’ll take any day of the week.
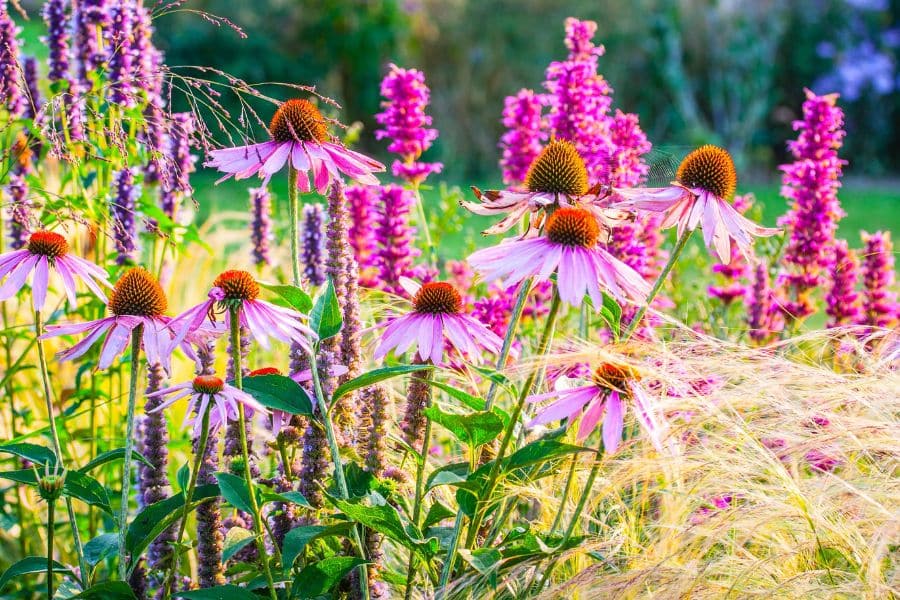
When to Do It (and When to Leave It Alone)
The two best windows are early spring, when you can just see the new shoots pushing up but the plant hasn’t really got going yet, and early fall, when the worst heat has passed, and the soil is still warm enough for roots to settle in before winter.
As a rule of thumb, divide spring and summer-flowering plants in fall, and divide fall-flowering plants in spring. You’re aiming to disturb the plant when it’s not also trying to put on a show.
We’re in midsummer right now, which is the worst time to dig anything up. The plants are flat-out trying to flower and stay hydrated, and asking them to also grow a new root system in 85-degree heat is a bit much.
So if you’re reading this in June or July, file it away for September and spend the next couple of months noting which clumps look like they’ve had enough. The ones with a bald patch in the middle, the ones flopping outwards, the ones that haven’t flowered as well as last year. Those are your candidates.
There are a few perennials that don’t love being divided and would rather you didn’t, peonies, hellebores, baptisia, and oriental poppies all prefer to be left in peace. Everything else is fair game, and most of the workhorses of an ordinary yard, the hostas and daylilies and grasses and geraniums, actively benefit from a chop every 3 or 4 years.
What You Actually Need (Spoiler: Not Much)
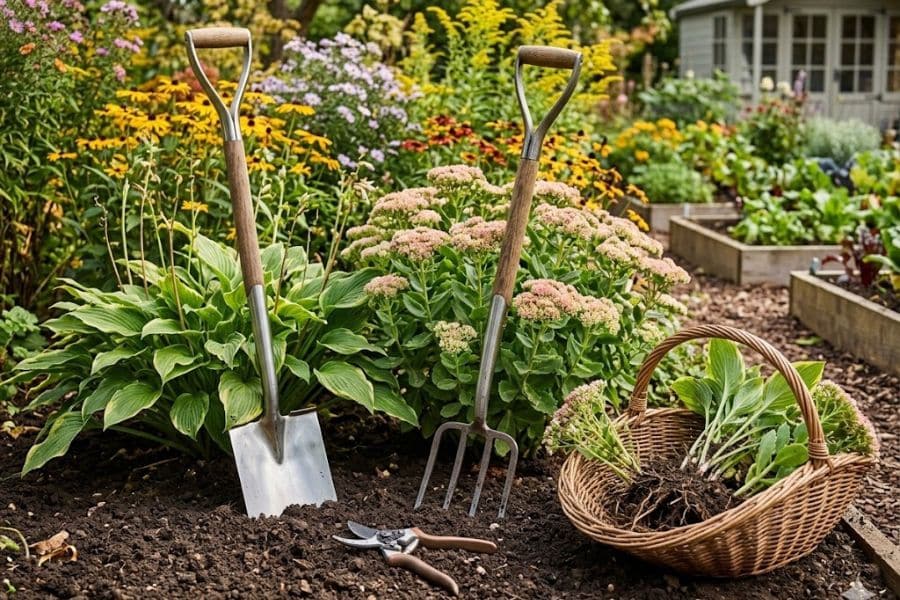
I want to be clear that this isn’t a fiddly, expert thing. If you want to do it properly, you need a sharp spade, a garden fork, and either an old bread knife, a hori-hori if you’ve got one, or a pair of pruning shears for the tougher stuff.
A bucket of water for the pieces you’re not planting straight away is useful, and a tarp or old sheet to dump everything on so you don’t completely trash the lawn.
Gloves are sensible because some perennial roots are surprisingly tough, and you’ll end up with blisters otherwise. I also keep a watering can filled and waiting, because the pieces want a drink the minute they go back in the ground, and walking back to the faucet four times kills the momentum.
The one thing I’d push you toward, if you’re going to buy anything, is a proper, sharp spade. A blunt one makes it harder to get a clean cut through the roots. Sharpening the edge with a file once a year makes a world of difference and takes about 2 minutes.
Walking Through Dividing Perennials Step by Step
- Start by giving the plant a good drink the day before. Dry roots are harder to lift and harder to separate, and a well-watered clump comes out of the ground in one piece much more obligingly. Then, when you’re ready, water the spot it’s going to in too, so the soil is soft when the new pieces arrive.
- Dig a wide circle around the clump, going down further than feels necessary, and lever the whole thing up out of the ground. You want the whole root ball, not just the leafy bit on top. Some plants come up easily, others cling on for dear life. Once it’s out, lay it on your tarp and have a look at what you’ve got.
- Now you pull or cut it into pieces. For softer-rooted things like hostas, hardy geraniums, and sedum, you can often just pull the clump apart with your hands, or with two forks back to back as levers. For tougher customers like daylilies, miscanthus, or anything with a woody crown, you’ll need a knife or a spade and a bit of welly. Each piece needs a few healthy shoots or buds on top and a decent fistful of roots underneath. That’s it. Toss the dead woody bit from the middle if there’s one, because that part was failing anyway.
- Replant the pieces at the same depth they were before, firm the soil down around them, and water them in thoroughly. Then keep an eye on them for the next couple of weeks and water again if it doesn’t rain. They might look a bit shocked and sulky for a few days, which is normal, and most of them will be back to themselves within a month.
What to Do With All Your Free Plants
You’ll now have 4 or 5 baby plants where there was 1, and you have to decide what to do with them. The obvious answer is to fill in gaps in your own beds, which is what I mostly do, because there’s always a bare patch somewhere that’s been annoying me.
The second-best use is to start a little nursery corner. I keep a row of pots near the back wall where divisions live until I figure out where they’re going. Some of them sit there for a year before I find them a home, and they’re perfectly happy. Pot them up with ordinary potting soil, and keep them watered.
The third option is to give your plants away. Once you’ve done this for a couple of years, you also start receiving plants in return, and suddenly half your yard has stories attached to it: this geranium came from so-and-so, that daylily was a housewarming present, the grasses were a swap. It turns out perennials aren’t fixed objects in the yard but a sort of slow-motion plant factory, and once you cotton on, you stop buying so many and start swapping instead.