
We live in a throwaway society that is nothing like the society my grandparents grew up in, where everything had at least three lives, if not more. You didn’t throw out socks if they could be darned, and food scraps were used in various ways.
We’ve lost that way of life to a greater extent, but since COVID, there seems to be a return to a more frugal way of life, including how we handle our food scraps. Since moving to rural France and living in the countryside, my way of life has changed beyond all recognition.
For the last couple of years, I’ve had a compost pile where my compostable food scraps go, any leaves and grass clippings, really anything that can be composted down. I love the fact that I’m doing my bit for the environment in every way I can. But you don’t need a big yard in order to do this, far from it. All you need is space, and that could be a balcony or a shelf in your kitchen.
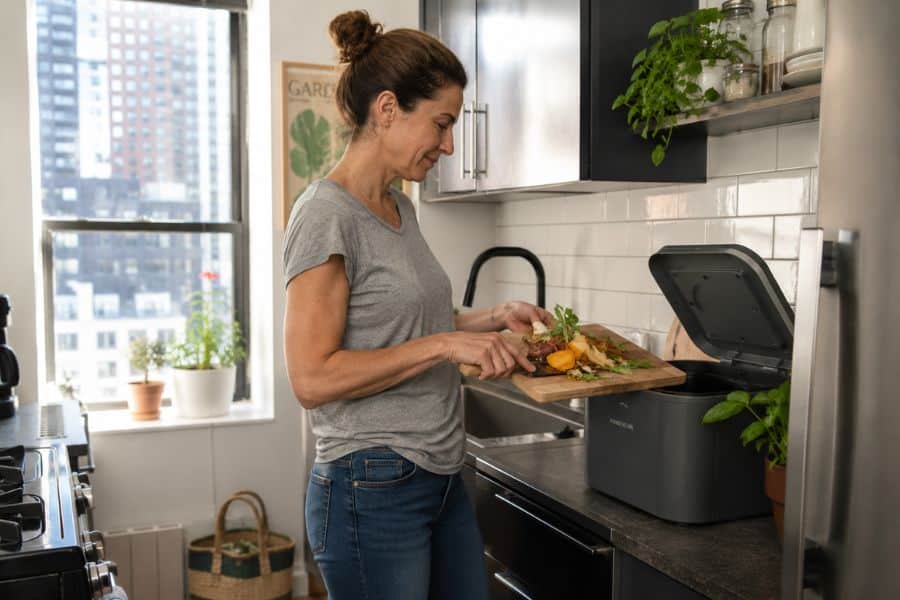
5 Ways to Compost in an Apartment
Did you know that food scraps make up about 20 to 30 percent of household trash, and once that wet stuff hits a landfill, it breaks down poorly and emits methane. Composting at home, even on a tiny scale, sidesteps all of that and gives you something useful at the end. Free plant food! And yes, you can still have a tiny garden on a balcony; it all counts.
1. Electric Countertop Composters With Live Microbes
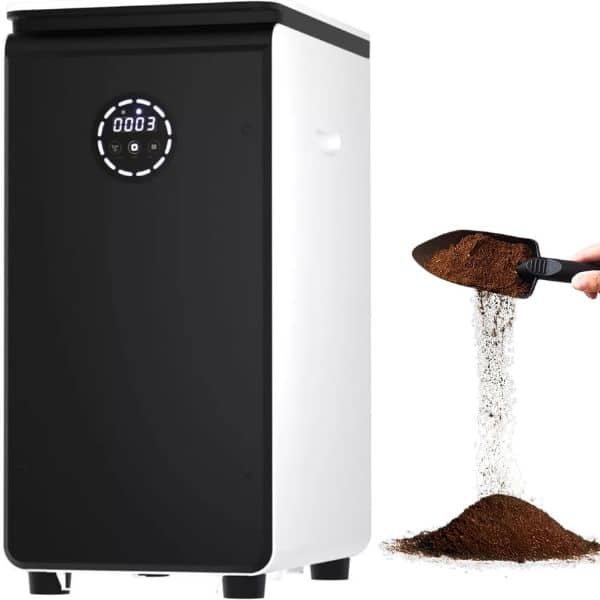
If the idea of rotting food in your kitchen makes you want to close this tab, this is probably the option for you. The newer electric composters, things like the GEME Terra 2 or the Reencle Prime, use living microbes inside the machine to break down your scraps. They’re a different animal from the early Lomi-style devices that mostly dried and ground food into crunchy crumbs. These ones actually compost, although the price tag might make your eyes water.
You lift the lid, drop in your banana peels, coffee grounds, or sad leftover salad, close it again, and the microbes get to work. Roughly 24 hours later, you have something that looks like dark, crumbly soil.
They run almost silently, and they don’t smell, which is the main thing people worry about. The energy use is surprisingly low, too, around 58 watt-hours a day, which is in the same ballpark as leaving a laptop plugged in. The older dehydrator-style machines could chew through up to 1kWh a cycle, so this is a real step forward.
The other thing I like about these is that you don’t need to keep buying replacement carbon filters. The living microbe bed inside just keeps going. They fit on a countertop or tuck into a corner, and if you’re nervous about bugs, smells, or making a mess, they take all that worry off the table.
As I said, they aren’t cheap, so go in with eyes open, but as a hands-off option for a small kitchen, it’s hard to beat.
2. A Worm Bin Under the Sink (Yes, Really)
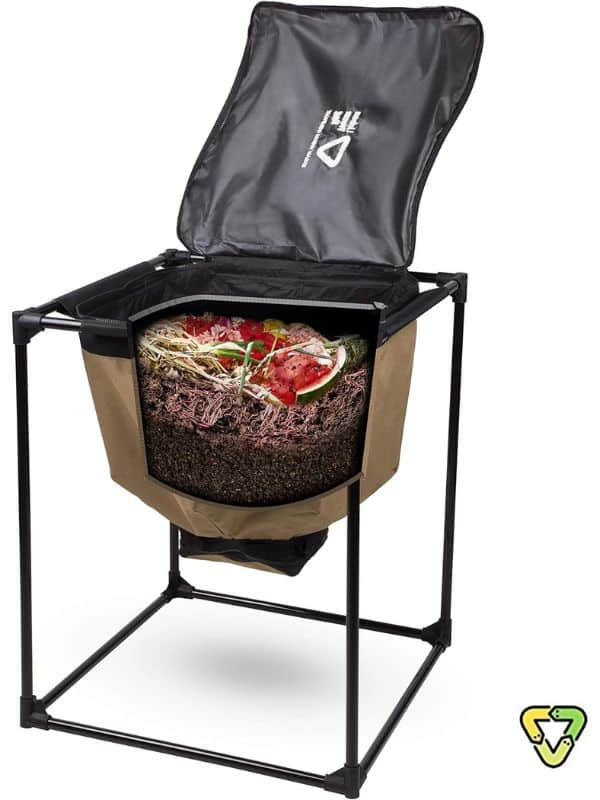
I know, but hear me out on this one, because the people I’ve spoken to who do this swear it’s the least gross part of their kitchen. Vermicomposting, which is the fancy word for letting worms eat your scraps, is one of the most reliable ways to compost indoors, and a well-run bin doesn’t smell. Not like anything you’d notice unless you stuck your nose in it.
The worms you want are red wigglers, not the ones you’d dig out of a garden bed. Red wigglers actually like living in a contained space as long as you keep feeding them. A household producing around 3 pounds of food waste a week needs roughly 3 square feet of bin space, which is small enough to live under a sink or in a closet.
You can buy a purpose-made setup like the Urban Worm Bag, or use a stacked tray system, or just drill tiny air holes in a plastic tub. The stacked trays are nice because they let excess moisture drain out the bottom as worm tea, which you can dilute with water and pour onto your houseplants.
Feeding them is mostly common sense. Fruit and vegetable scraps, coffee grounds, and shredded plain paper or cardboard go in. Meat, dairy, oily things, and citrus stay out. Worms hate lemons and oranges.
Bury the food scraps under a layer of shredded paper each time you add some, keep the bedding damp but not sopping, and let them get on with it. Every few months, you scoop out the dark, crumbly castings at the bottom and use them as plant food. It’s the best fertilizer going.
3. Bokashi Buckets for Everything Else (Including Meat and Dairy)
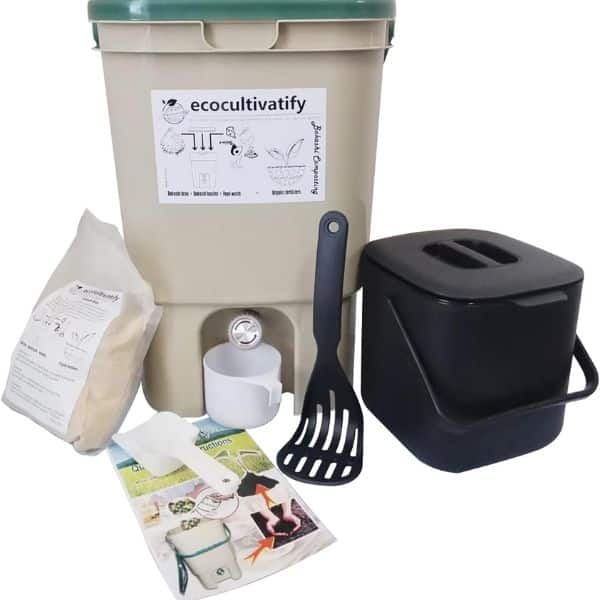
Here’s where it gets interesting, because most indoor methods can’t handle the trickier scraps. Chicken bones, cheese rinds, or the last inch of milk that went off. Worms won’t touch them, and an electric composter won’t love them either. Bokashi will.
Bokashi is a fermentation process, not a rotting one. You get an airtight bucket and a bag of bran that’s been inoculated with specific microbes, and you basically pickle your food waste. Layer your scraps in the bucket, sprinkle a handful of the bran over the top, push it down, close the lid tight, and repeat until the bucket’s full.
Because no air gets in, the food ferments rather than rots. When you do open the lid to add more, it smells a bit sour, nothing to make you gag.
The fermentation stage takes about 10 to 14 days once the bucket is sealed, which is fast. The catch, and there is one, is that what comes out at the end isn’t ready to use on plants yet. It’s pickled, acidic, and needs to cure. You bury it in a pot of soil for a few more weeks to finish the job, and then it becomes lovely, rich dirt.
If you have a balcony with a big pot or 2, this works fine. If you have absolutely no outdoor space at all, you can still do bokashi, but you’ll need a deep tub of soil indoors for the curing stage, or you can hand the fermented bucket off to a community compost site that accepts it.
4. A Countertop Bin Plus a Community Drop-Off
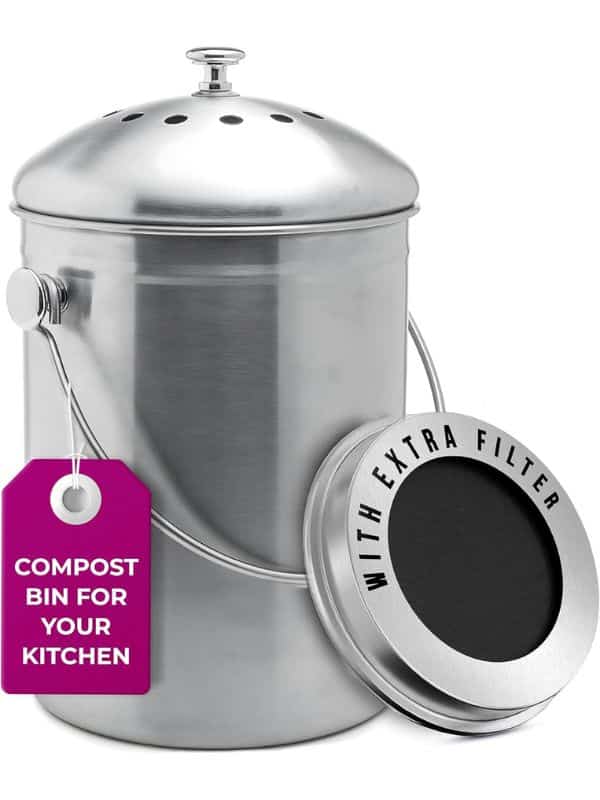
If all of the above sounds like more commitment than you want, this is the one. You collect your scraps, and someone else handles the composting. It’s still keeping food waste out of the landfill, which is the whole point, and it’s the route a lot of apartment dwellers actually take.
The key is a good countertop bin so your kitchen doesn’t start smelling. A cheap plastic bowl with a lid will let you down within a week. What works is a proper stainless steel bin with an activated charcoal filter in the lid, something like the Epica Stainless Steel Bin, which costs under 40 dollars and looks fine sitting on a counter.
The charcoal filter traps odors, so you can keep it next to the cutting board without anyone wrinkling their nose. Empty it into your freezer every few days if you’re not dropping off often, which kills the smell entirely and stops fruit flies from setting up camp.
From there, you find your drop-off. Lots of cities now run curbside compost collection, and farmers’ markets often have a bin where you can tip your scraps in for free or a small fee. Community gardens are another good shout. I’d check what they accept first, because some take everything, and some are picky about citrus, bread, or cooked food. Once you’ve got the routine, it takes about as much effort as taking out the recycling.
5. A Small Balcony Setup With a Tumbler or Stacked Bin

If you do have a balcony, even a narrow one, you’ve got more options than you’d think. A small compost tumbler or a stacked vertical bin lets you run something closer to a traditional outdoor compost pile, on a scale that fits the space.
A tumbler is a sealed drum on a stand that you spin every few days to mix the contents, which speeds things up and keeps it tidy. Stacked bins work similarly, with finished compost dropping to the bottom while you keep adding fresh material at the top.
The key with a balcony is balancing your greens and browns. Greens are the wet stuff, fruit and vegetable scraps, coffee grounds, and tea leaves. Browns are the dry stuff: shredded paper, cardboard, dried leaves, if you can scrounge any.
Roughly 2 to 3 parts brown to 1 part green keeps it from going slimy or smelly. If yours starts to stink, it’s almost always because there’s too much wet green material and not enough dry brown, and a good handful of shredded cardboard usually sorts it out. I’ve made that mistake plenty of times with my own pile.
The other thing to think about on a balcony is weight and drainage. A full tumbler is heavier than people expect, so make sure your balcony can take it. Pop a tray underneath to catch any liquid, because that’s gold for your container plants once it’s diluted.
Within a few months, you’ll have proper compost you can dig into your balcony pots or window boxes, and the difference in how your herbs and tomatoes grow is worth it.