
If you’ve ever bought an amaryllis bulb, watched it explode into the most dramatic, show-stopping flowers you’ve ever seen indoors, and then wondered what to do with it once the blooms died off, you’re not on your own.
Most people throw them away, and that’s such a shame. And what a waste. A healthy amaryllis can bloom again and again, year after year, for decades. The trick is knowing how to fool it and forcing it to believe it’s time to bloom.
It’s a gardening technique that mimics a plant’s natural life cycle, so it blooms on your schedule rather than nature’s. For amaryllis, that means giving it a fake winter, then waking it back up.

The Secret to Forcing Amaryllis Bloom
Amaryllis (botanically Hippeastrum) are native to Central and South America, where they bloom in response to seasonal changes in temperature and rainfall. When you force one indoors, you’re artificially recreating those cues.
Start With a Good Bulb
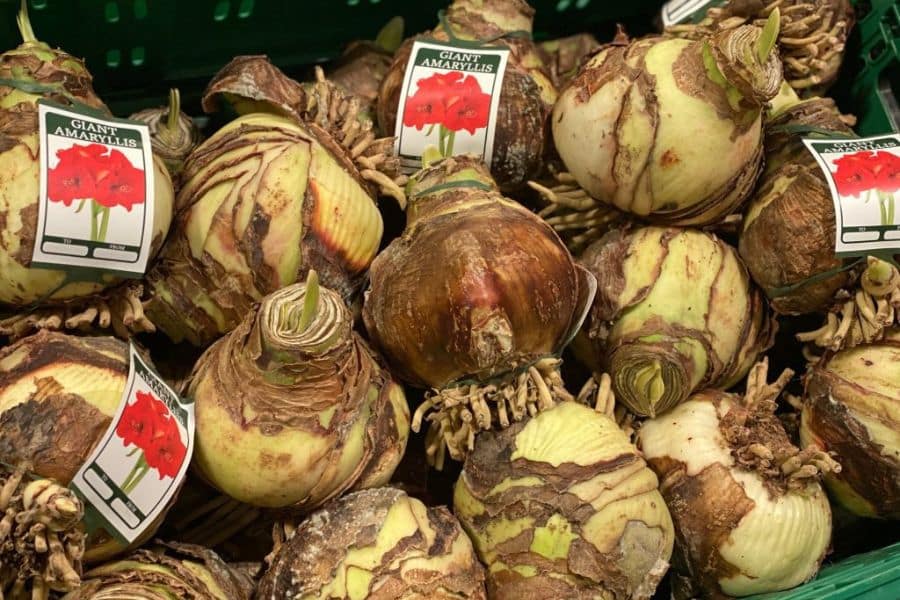
Larger bulbs have more stored energy, which means more flower stems and bigger blooms. Look for a bulb that’s firm all the way around, with no soft spots, mold, or wrinkled skin.
A healthy bulb should be roughly the size of a large grapefruit, somewhere between 9 and 14 inches in circumference.
If you’re starting fresh, shop for bulbs in early to mid-fall. Popular varieties sell out fast, and the best ones are usually gone by November.
Choosing the Right Pot
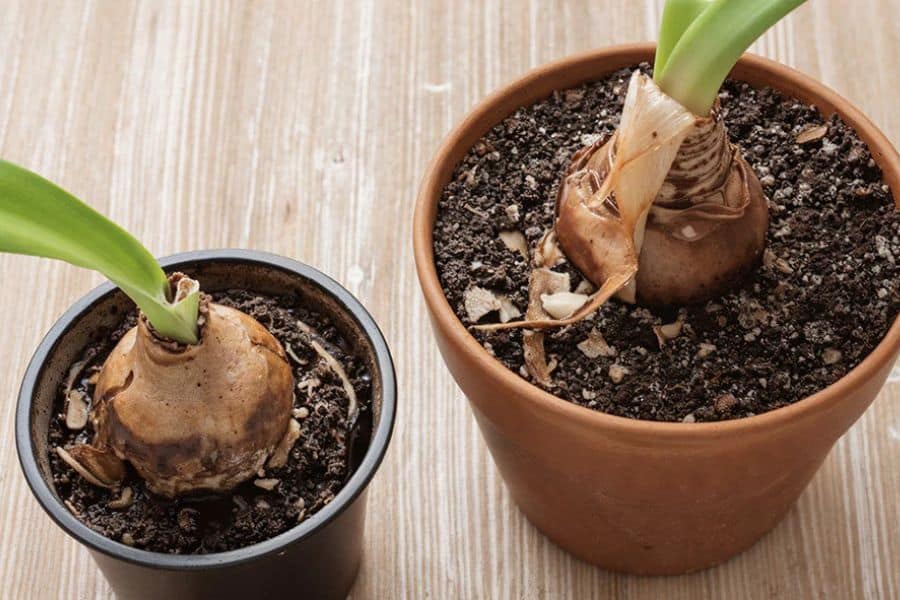
Amaryllis likes to be snug. A pot that’s too large will encourage the plant to put its energy into roots rather than flowers, which is not what you want.
Choose a container that’s no more than 1 to 2 inches wider than the bulb’s diameter. It must have drainage holes. Terracotta works well because it’s heavy enough to keep the plant from toppling over once those tall stems and big blooms appear, and they get top-heavy.
Add a lightweight, well-draining potting mix with some perlite mixed in for good drainage. A slow-release fertilizer blended into the soil at planting gives the bulb a head start.
How to Plant It
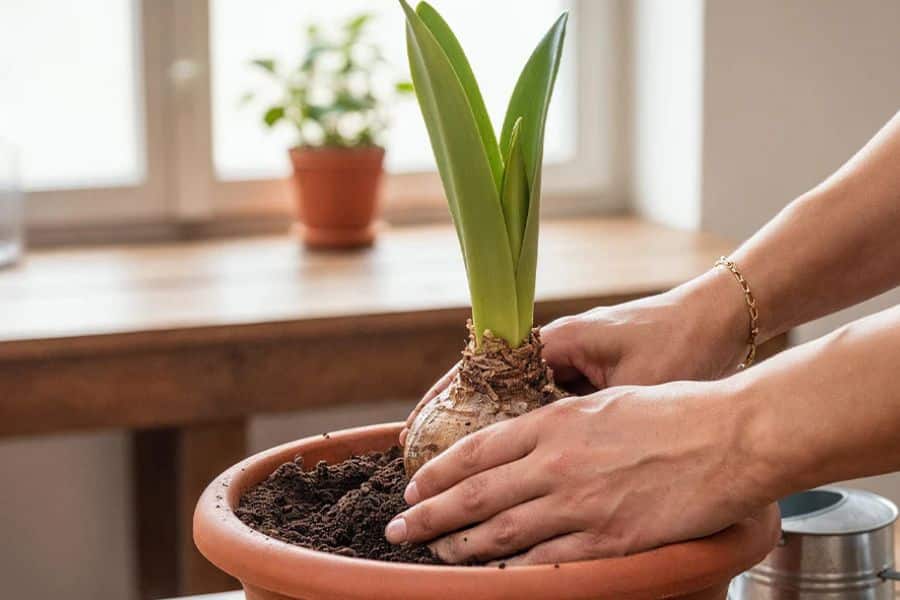
Fill the pot about halfway with potting mix, then set the bulb in the center.
Add more soil around it, but keep the top third of the bulb sitting above the surface. Amaryllis bulbs are meant to poke out of the soil.
Water the soil thoroughly once, then put the pot somewhere warm, at least 70 degrees Fahrenheit, and do not water again until you see green growth beginning to emerge. Watering too soon is one of the most common mistakes people make, and it can cause the bulb to rot before it ever gets started.
The Waiting Game
Growth can take anywhere from two to eight weeks to appear. If you’re desperate to speed things up, a seedling heat mat placed under the pot can encourage the bulb to wake up faster.
Once you see a green tip emerging, begin watering weekly. Keep the soil just moist, never soggy. Move the pot to a bright window with indirect light and rotate it every few days to keep the stem growing straight rather than leaning toward the sun.
Expect flowers six to eight weeks after potting.
How to Get the Best Blooms
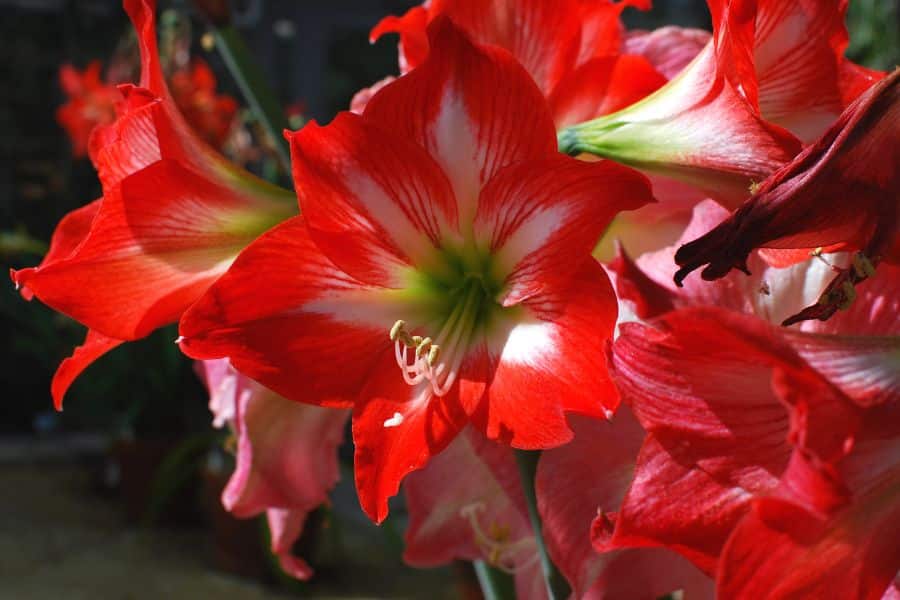
A south-facing window or sunroom is the ideal spot while the bulb is getting going.
Once the flowers start to open, move the plant somewhere slightly cooler, around 53 to 65 degrees Fahrenheit. This slows down the flowers and makes them last longer. Direct sun at this stage will cause them to fade fast.
Rotate the pot regularly. Stake the stem if it starts to lean. Snip off spent individual flowers as they fade to keep the plant producing for as long as possible.
An amaryllis in full bloom can flower for seven weeks or more if you treat it right.
Don’t Throw It Away When It’s Finished
After the flowers are done, cut the flower stalk down to within an inch or two of the bulb. Do not cut the leaves. Those long, strap-like leaves are the engine room. They photosynthesize and send energy back into the bulb, building up the reserves that will power next year’s blooms.
Move the plant to a sunny window. Water when the soil surface is nearly dry. Feed it every two to four weeks with a diluted liquid fertilizer. In late spring, when frost risk has passed, you can move it outside to a spot with morning sun and afternoon shade.
Fertilize through the summer. Stop feeding in August.
Triggering Dormancy
This is the secret step that most people either don’t know about or skip entirely. And it’s the reason their bulb never flowers again.
In late September, stop watering completely. Move the pot to a cool, dark spot, such as a garage, basement, or spare room, where temperatures are between 50 and 55 degrees Fahrenheit. Cut the foliage back once the leaves turn brown.
Leave the bulb there, dry and dark, for eight to ten weeks, and leave it alone. It looks dead. It isn’t. It’s doing exactly what it’s supposed to do.
Waking It Back Up
After the dormancy period is complete, bring the pot back into a warm room, water it thoroughly, and place it in a bright spot.
Within a few weeks, you should see a new green shoot pushing up through the soil. At that point, you’re back at the beginning of the cycle, and flowers are six to eight weeks away.
Some amaryllis growers time this so the bulb blooms for Christmas. Plant or restart in late September to early October for December blooms. Want flowers for Valentine’s Day instead? Start the process in December.
You’re in charge of the calendar now.
A Word About Waxed Amaryllis
If you’ve seen those colorful wax-coated amaryllis bulbs that need no soil, no water, and no pot, they’re a different story.
The wax coating contains enough stored moisture for one bloom, but waxing removes the roots and prevents the bulb from being reused. Once it’s done, it’s done.
If yours still feels firm after blooming, you can remove the wax carefully and try planting it as you would a regular bulb. Whether it takes is a coin toss. Worth trying, but don’t be too disappointed if it doesn’t cooperate.
When Your Amaryllis Won’t Bloom
It happens. You do everything right, and the plant produces a mound of lush green leaves and absolutely nothing else.
Usually, this comes down to one of three things.
The bulb didn’t get a long enough dormant period. Eight to ten weeks is the minimum, and some bulbs need a full twelve.
The bulb wasn’t fed enough during its growing season and simply doesn’t have the stored energy to produce flowers. Feed generously next summer and try again.
Or the bulb itself has reached the end of its life. Inspect it. If it’s soft, wrinkled, or showing signs of rot or mold, it’s time to start fresh with a new one.
A good bulb, properly cared for, can produce flowers every year for twenty years or more. That’s a lot of blooms from one small investment.