
Getting old isn’t fun. And granted, I’m only 54, but the joint stiffness is real, and I’m no longer always able to jump out of bed with quite the same ease as I did ten years ago. It’s just as bad if I’ve sat at my desk for a couple of hours. My knees stage a minor protest when I get up out of my chair.
If you’re anything like me, you shrug and laugh it off as “just getting older.” However, I recently discovered a rather helpful, and easy, I might add, yoga technique that fixes my joint problems quickly and with minimal fuss.
Now I’ll hold my hand up, I’m not a yoga gal, but this doesn’t feel like yoga, as it’s ridiculously simple and takes no time at all.

Why Your Joints Actually Feel Stiff
Most people assume joint stiffness is about cartilage wearing down. While that’s part of the picture for some people, the morning stiffness and the creaky feeling after sitting too long are usually something different entirely.
Inside your joints is a substance called synovial fluid. It’s a thick, lubricating liquid that keeps your joint surfaces moving smoothly. Here’s the thing about synovial fluid: it’s thixotropic. That’s a fancy word for a fluid that gets thicker and gloopier when it sits still, and thinner and more slippery when it moves.
Think of honey in a cold jar. Stir it, and it loosens up. Leave it alone, and it sets.
So after a night of sleep, or a long afternoon on the sofa, that fluid has been sitting still. It thickens, and you feel stiff.
But there’s more to it.
A Quick Science Lesson
Your lymphatic system is responsible for clearing waste, reducing swelling, and keeping fluid moving around your body. Here’s the catch: unlike your circulatory system, it has no pump. No heart. It relies entirely on movement and pressure to keep things flowing.
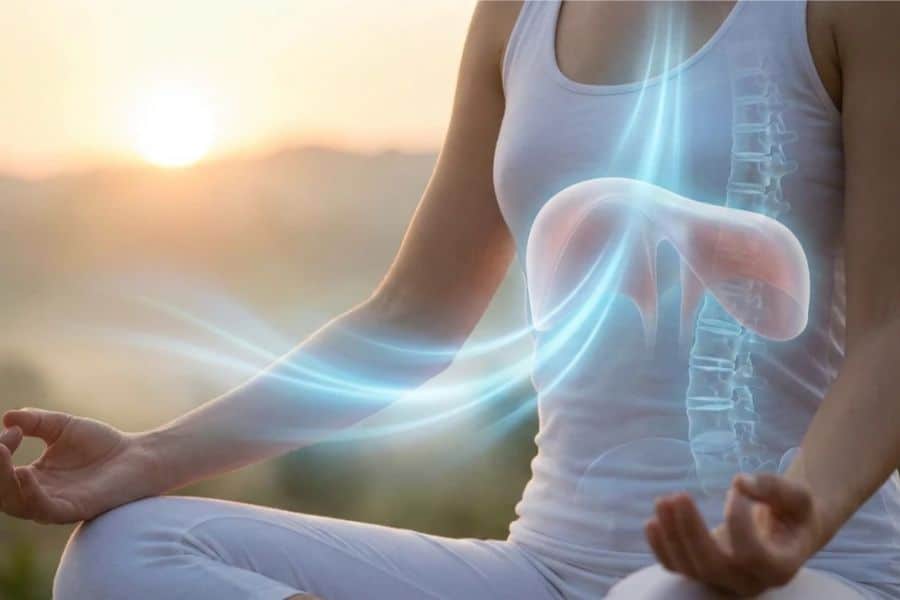
When you sit still for hours and breathe shallowly (which most of us do without realizing it), the lymphatic system slows down. Fluid backs up. The environment around your joints becomes stagnant, and that contributes to that puffy, achy, can’t-quite-get-going sensation.
Research found that diaphragmatic breathing measurably supports lymphatic drainage by creating pressure changes in the thoracic duct, the body’s main lymphatic highway. When you breathe deeply into your belly, your diaphragm acts as a kind of secondary pump, actively moving lymph fluid through the system.
Shallow chest breathing doesn’t do this.
How Stress Pours Fuel on the Fire
Add chronic stress into the mix, and things get worse.
When your nervous system is in “fight or flight” mode, your muscles tighten around your joints to protect them. Blood vessels constrict. Less fresh blood reaches the joint tissue. Your body is doing what it’s designed to do, but it’s not helpful when the threat is a work deadline rather than a bear.
Stress also drives up levels of pro-inflammatory chemicals in the body. Research on the vagus nerve shows that activation of what scientists call the “cholinergic anti-inflammatory pathway” can help regulate the production of these inflammatory chemicals. The vagus nerve is your body’s main brake pedal for the stress response. The good news? You can activate it deliberately, with your breath.
Four Breathing Techniques That Get Rid of Joint Stiffness

So there are three things going on when your joints feel stiff: the fluid has thickened from inactivity, the lymphatic system isn’t draining well, and stress is tightening everything up and making it more inflamed than it needs to be.
These four breathing techniques address each of those issues.
No 1: Belly Breathing (The Fluid Pump)
Most of us breathe into our chests. Shoulders go up, chest expands, and the diaphragm barely moves. This is technically functional breathing. But it’s missing a significant portion of the benefits that deeper breathing can offer.
Belly breathing, or diaphragmatic breathing, changes that. When you breathe deeply into the abdomen, your diaphragm drops down on the inhale and rises on the exhale. That movement creates pressure changes in the chest cavity that directly support lymphatic flow.
5 minutes is enough to get things moving.
How to do it:
Lie down or sit comfortably. Place one hand on your chest and one on your belly. Breathe in slowly through your nose for a count of 4, aiming to make only the lower hand rise. The hand on your chest should stay still. Exhale slowly through pursed lips for a count of 6, feeling your belly soften back toward your spine.
That’s it. Do 10 rounds.
The exhale being longer than the inhale is part of the mechanism, which you’ll see come up again in technique 3.
No 2: Humming Bee Breath (The Anti-Inflammatory)
Your paranasal sinuses, those air pockets around your nose and cheeks, are reservoirs of nitric oxide. Nitric oxide is a gas that acts as a natural vasodilator: it opens up blood vessels and has anti-inflammatory effects throughout the body.
When you breathe silently, most of that nitric oxide stays trapped in the sinuses. But researchers found that humming increases nitric oxide output by around 15 times compared to quiet exhalation. The vibration of humming creates an oscillating airflow that essentially shakes the nitric oxide loose, allowing it to mix into your inhaled air and enter the bloodstream.
Once in the bloodstream, nitric oxide reaches the small capillaries around your joints, helping them open and improving circulation to tissue that may have been getting insufficient blood flow.
How to do it:
Sit comfortably with your spine reasonably upright. Close your mouth, but let your teeth part slightly. Take a full breath in through your nose. On the exhale, make a low, steady humming sound. Feel the vibration in your nose, lips, and the front of your face. That vibration is the mechanism. Do 8 to 10 rounds.
If you want to intensify it, gently plug both ears with your thumbs. The sensation deepens, and many people find it quite calming.
No 3: Extended Exhale Breathing (The Stress Reset)
Remember the vagus nerve from earlier? This is where we put it to work.
The vagus nerve runs from your brainstem all the way down through your chest and abdomen. It’s the main line of your parasympathetic nervous system, the “rest and digest” state that is the opposite of fight or flight. When you activate it, your heart rate slows, muscles release some of their protective tension, and the inflammatory cascade quiets down.
The key is in the exhale.
A Japanese study found that breathing with a longer exhale than inhale specifically activated parasympathetic nervous function compared to normal or rapid breathing.
The popular 4-7-8 method, developed by Dr. Andrew Weil, uses this principle.
How to do it:
Place the tip of your tongue lightly against the ridge just behind your upper front teeth. Keep it there throughout. Breathe in through your nose for 4 counts. Hold for 7 counts. Exhale fully through your mouth, making a soft “whoosh” sound, for 8 counts.
Start with 4 cycles. If you feel slightly lightheaded, that’s normal and passes quickly. It’s simply the effect of the shift in oxygen levels as your body adjusts to a slower, deeper breathing pattern.
No 4: Alternate Nostril Breathing (The Balancer)
Alternate nostril breathing, known in yoga as Nadi Shodhana, involves breathing through one nostril at a time while gently closing the other. Your body naturally does something similar already: most people have a dominant nostril that switches sides roughly every two hours, a process linked to activity in the autonomic nervous system.
Manually alternating the nostril you breathe through appears to influence both sides of the nervous system. It decreases both heart rate and blood pressure. Less sympathetic activation means less muscle guarding, less tension, and ultimately less stiffness.
How to do it:
Sit comfortably with a straight spine. Use your right hand. Curl your index and middle fingers toward your palm, leaving your thumb and ring finger free. Close your right nostril with your right thumb. Inhale slowly through your left nostril. Close your left nostril with your ring finger and release your thumb. Exhale through your right nostril. Inhale through your right nostril. Close the right nostril with your thumb and release your ring finger. Exhale through the left nostril.
That’s one complete cycle. Do 5 to 10 rounds. Keep the breath smooth and slow without forcing it. There’s no need to hold the breath between the nostrils if that feels uncomfortable.
A Simple 10-Minute Morning Routine

Try this sequence before you get out of bed, or sitting on the edge of it:
Start with 2 minutes of belly breathing to wake up the lymphatic system and begin loosening the synovial fluid. Follow with 2 minutes of humming bee breath, 8 to 10 slow rounds, to flood your system with nitric oxide and start opening up circulation.
Move into 2 minutes of extended exhale breathing using the 4-7-8 pattern (4 cycles is enough) to shift your nervous system out of any residual stress from the night. Finish with 2 to 3 minutes of alternate nostril breathing, around 8 to 10 complete cycles, to balance everything out.
That’s roughly 10 minutes. You can do it while sitting in bed or at the kitchen table before the day starts.
Don’t expect to feel like a new person after the first session. But most people notice something shifting by day 3 or 4, particularly in how their body feels in that first 10 minutes after waking.
Disclaimer: The health and wellness content on Your Lifestyle Library is for informational purposes only and should not replace professional medical advice. Always consult your healthcare provider before making changes to your routine, especially if you have a diagnosed condition affecting your joints or cardiovascular system.