
There’s a bulb of garlic somewhere in your kitchen right now that’s starting to look a bit sorry for itself. You know the one, the last of the net you bought a few weeks ago, gone slightly soft on one side, maybe with a green shoot poking hopefully out of the top.
Don’t bin it. That garlic can be saved and grown into more. You stick the cloves in the ground in fall, forget about them all winter, wave at the green shoots in spring, and dig up actual heads of garlic the following summer.
It couldn’t be simpler, and you’ve turned a potential bin item into a garlic gift. And when you plant garlic, it tastes very different from the supermarket stuff.
When Can You Plant Garlic?
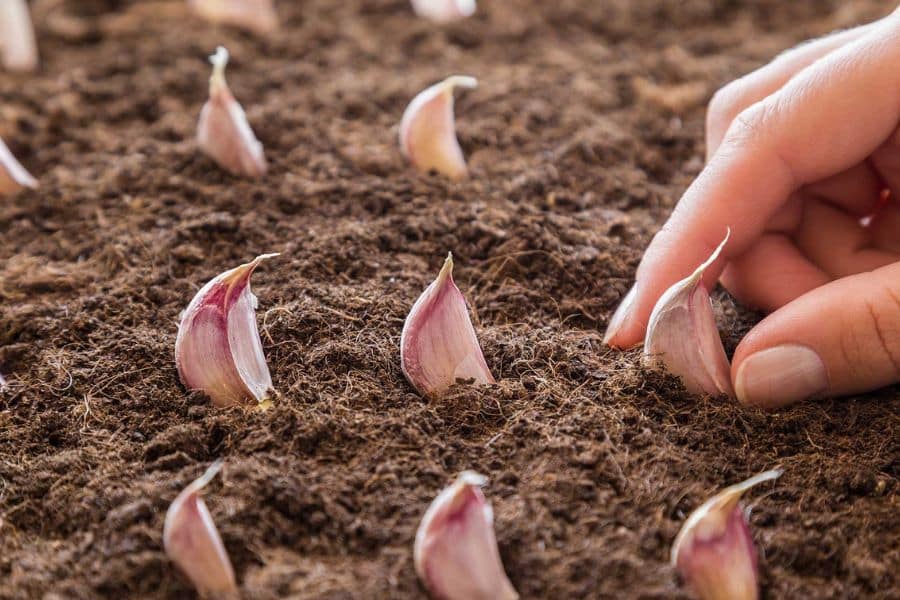
Garlic wants a cold spell to do its thing. When a clove goes into the ground in October or early November, it puts down roots before the soil freezes, sits through the coldest months doing very little on the surface, and then throws up green shoots as soon as the days start getting warmer.
That cold period is what tells the clove to split and form a proper head instead of just growing into one big lonely bulb. Skip the winter chill, and you get sad little single-clove blobs, which are edible but not what you had in mind.
Where I am in southwest France, I aim for late October, which usually gives me a good six weeks of decent root weather before the first hard frost. If you’re somewhere colder, say zones 3 to 5 in the US, you’ll want to be in the ground by mid-October at the latest, and mulch the bed heavily once you’re done.
Warmer parts of the country, zones 8 and 9, can push planting into November and even early December without any trouble.
The rule of thumb I use is to plant garlic about two to three weeks before your first expected hard frost. Long enough for roots to establish, not so long that the shoots come up and get zapped.
If you’re staring at a bulb going soft on the counter in August, don’t panic and plant it now. Pop the cloves in a paper bag somewhere cool and dark and wait until the weather turns.
The Supermarket Garlic Question
Can you plant the garlic from the supermarket? Yes. Should you? Sometimes. No, not helpful I know, but hear me out.
A lot of supermarket garlic, especially the cheap netted stuff, comes from China and has often been treated with a growth inhibitor to stop it sprouting on the shelf. That’s why some bulbs sit in your cupboard for months looking pristine while others sprout within a week.
The treated ones will still grow if you plant them, but often less enthusiastically, and you have no idea whether the variety is suited to your climate. It might be a warm-weather softneck that resents your Michigan winter, or the other way around. You’ll get garlic, but it might be underwhelming.
What I’d push you toward, if you can manage it, is one of two things. Either buy an organic bulb from a farmer’s market or a decent grocery store (organic bulbs aren’t treated with sprout inhibitor, and they’ve usually been grown somewhere with a climate not wildly different from yours), or spend $8 to $12 on a proper seed garlic bulb from a nursery or online supplier and pick a variety suited to your region.
Softneck varieties like Inchelium Red or California Early keep for ages and do well in milder areas. Hardneck varieties like Music or German Extra Hardy are the ones for colder climates and give you the bonus of scapes in early summer.
How to Plant Your Garlic
On planting day, take your bulb and separate it into individual cloves, keeping the papery skin on each one. Don’t do this weeks in advance because the cloves start to dry out once they’re broken apart.
Look at the pile and pick out the biggest, plumpest cloves for planting, because a bigger clove means a bigger head next summer. The tiny inner cloves? Roast those for dinner. They’ll grow if you plant them, but you’ll get a smaller bulb, and the space is better used.
Garlic wants sun and well-drained soil, and it hates sitting in wet ground over winter, which is the fastest way to rot the whole crop. If your soil is heavy clay, dig in some compost or grit before planting, or make a raised row.
Push each clove into the soil pointy end up, flat end down, about 2 inches deep, and space them about 6 inches apart. If you plant them upside down, they’ll usually right themselves eventually, but they’ll be weaker for it, so it’s worth the extra second to check.
Water them in once if the soil is dry, and then mulch the whole bed with 3 or 4 inches of straw, shredded leaves, or whatever you’ve got. The mulch keeps the soil temperature steady through winter, stops the freeze-thaw cycle pushing the cloves out of the ground, and suppresses weeds
What Happens Between Planting and Harvest
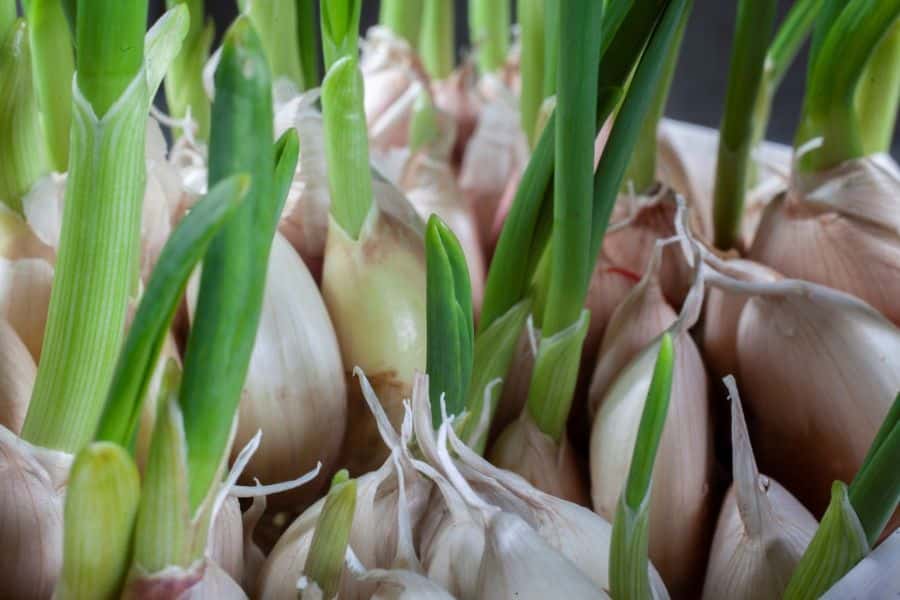
You’ll see green shoots pop up within a few weeks of planting, sometimes even before winter proper sets in. Don’t worry. Those shoots are supposed to be there. They’ll sit through the cold looking a bit sorry, sometimes flopping over in a hard frost, and then perk up and grow properly once the weather warms in spring.
From about March onward, all you’re doing is keeping the bed weeded and making sure it doesn’t dry out completely in a warm spring. Garlic isn’t thirsty, but it does like consistent moisture while the bulbs are swelling in late spring and early summer.
If you’re growing hardneck varieties, you’ll also get scapes in June, which are the curly flower stalks that shoot up from the middle of the plant. Snap them off when they curl once around, because if you let them flower, the plant sends energy up instead of into the bulb.
Chop the scapes into a stir-fry or blitz them into pesto. They taste like mild garlic with a green freshness, and they’re pretty good.
By late June or July, depending on where you are and what you planted, the lower leaves will start to yellow and die back. That’s the signal to think about harvest. When roughly a third to half of the leaves have gone brown but the top few are still green, it’s time.
Pull one up and check. A good head should feel firm and heavy, with clear clove divisions visible through the outer skin. Too early and the cloves haven’t separated properly. Too late and the papery wrapper splits and the head falls apart, which is fine for eating but useless for storing.
Curing and Storing Your Garlic
Once you’ve pulled your garlic, don’t rush to eat it all. I mean, eat some, of course; fresh garlic straight out of the ground is a completely different beast to the shelf-stable stuff. But if you want the rest of the crop to keep you going through fall and winter, it has to be cured first.
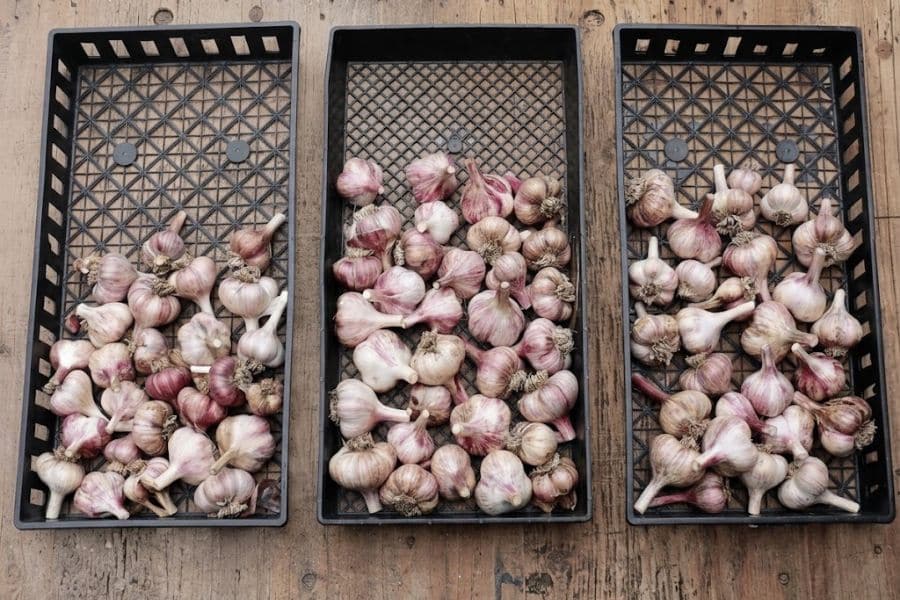
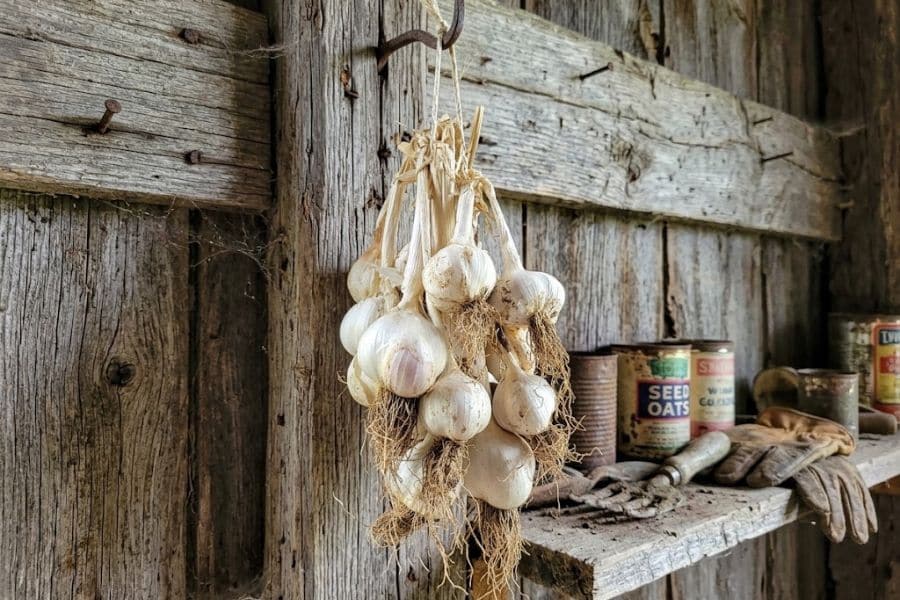
Curing is just drying, slowly, in a spot with good airflow and out of direct sun. Brush the loose dirt off with your hands (washing them shortens their storage life), and either hang them in bundles of 6 to 10 by the stems or lay them out on a rack or an old window screen in a shed, garage, or covered porch.
Leave the stems and roots on for now. Two to three weeks later, when the outer wrappers are papery and the necks feel dry and tight when you squeeze them, they’re done. At that point you can trim the roots off, cut the stems to about an inch, and store the heads in a mesh bag or a basket somewhere cool and dry.
Properly cured softneck garlic will keep for 8 to 10 months in a cool cupboard, which means the bulb you plant next month could still be feeding you next spring. And when you get down to the last bulb, the one starting to go a bit soft in the back of the cupboard, with a green shoot poking hopefully out of the top? You already know what to do with it.