
Being a female in her mid-fifties, I’m in the position of many women of a similar age, where my belly has a mind of its own. For some reason, despite still being relatively active, eating healthily, and ensuring my portion sizes aren’t too big, my belly continues to grow. So, I’m always on the lookout for ways to reduce it that aren’t too painful and don’t take too much effort.
I walk the dog every day, and she’s a border collie, so they aren’t short trots around the block, they’re long walks, up hill and down dale across the French countryside. So it’s safe to say my cardio is taken care of.
But it’s the other areas that need attention, specifically my belly and my core. There are no gyms near me, as we’re quite rural, so it needs to be things I can do from home in the comfort of my old barn, which I’ve kind of set up as a home gym. Plus, I tend to get easily bored, so I like to mix up the exercises I’m doing.
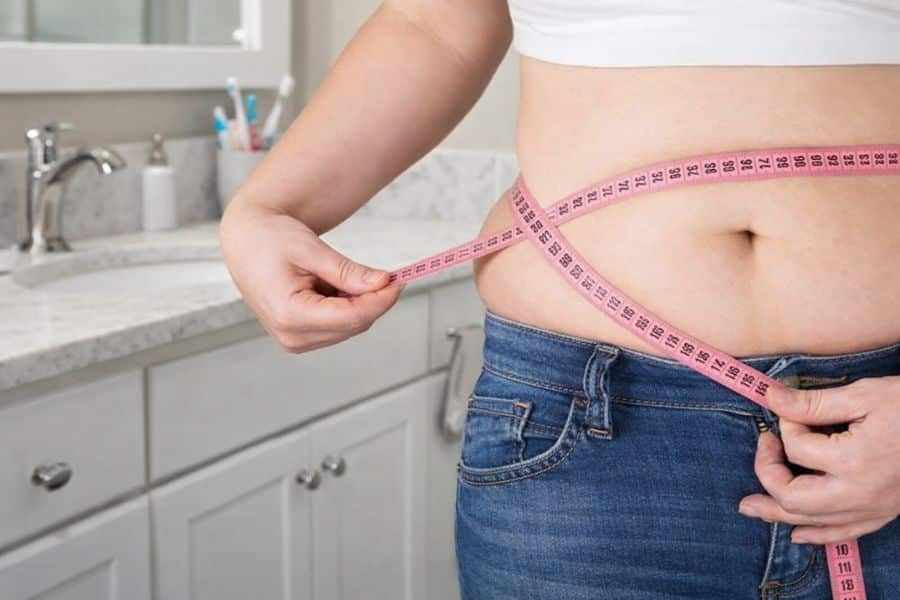
5 Exercises for Women to Help Reduce Belly Flab in Just Thirty Days
These five exercises are easy to incorporate into your exercise routine and require no specialized equipment. They’re perfect for women of a certain age looking to reduce their belly flab in thirty days. Are you up for the challenge?
Resistance Band Wood Chop
The Resistance Band Wood Chop targets your obliques and deep core muscles, which are key players in reducing belly flab. It’s also great for balance and stability, making it a powerful move for women looking to firm up their waistline at home.
How to Perform It
- Set up
Loop a resistance band around something sturdy at floor level, like a heavy table leg or a closed door anchor. Stand with feet shoulder-width apart. - Starting position
Hold the band with both hands at the side closest to the anchor point, keeping a slight bend in your knees. - The chop motion
Pull the band diagonally upward and across your body, finishing above your opposite shoulder. Keep your core tight and control the movement. - Return slowly
Guide your hands back down along the same diagonal path to the starting position. Resist the pull of the band. - Reps & sides
Do 10–15 reps, then switch sides. Aim for 2–3 sets per side.
Tips for best results
- Don’t lock your knees — a slight bend keeps the move safe.
- Focus on moving from your core, not your arms.
- Keep the motion slow and controlled, especially on the way back down.
Side Leg Lifts or Leg Raise
Although they’re often thought of as a glute move, Side Leg Lifts are also wonderful for the waistline. They engage the obliques, hip stabilizers, and deep core muscles, all of which support a firmer midsection.
How to Perform It
- Get into position
Lie on your side on a mat or carpet (or even a blanket). Stack your legs straight, one on top of the other. Support your head with your bottom arm (or rest your head on your hand), and place your top hand in front of you on the floor for stability. - Engage core & alignment
Draw in your lower belly to stabilize your core. Keep your spine neutral (don’t let your torso tilt forward or backward). - Lift the top leg
Slowly raise your top leg upward as high as you comfortably can while keeping it straight. Lead the movement with your heel and aim to feel the tension in your outer hip and side waist. - Lower with control
Bring the leg back down slowly, resisting any urge to drop it. Keep the motion smooth and controlled. - Reps & switch
Do 10-15 lifts on one side, then flip over and repeat on the other side. Try 2–3 sets per side, depending on your comfort level.
Tips to maximise effectiveness
- Don’t swing — the movement should be deliberate.
- Keep your core engaged to prevent your torso from swaying.
- If it feels too easy, try doing a brief hold (pause) at the top of each lift for 1 or 2 seconds before lowering.
Marching Torso Rotations
Marching Torso Rotations are a smart move for your midsection. Because you combine a marching motion with a twist through the torso, you’re engaging both your core stabilizers and your obliques, which helps tighten up that waist and burn fat in the area.
The dynamic nature of the movement also raises your heart rate slightly, giving a mild cardio boost.
How to Perform It
- Start position
Stand tall with feet hip-width apart, knees soft. Let your arms hang by your sides (or bend elbows at 90° if that feels more natural). - March + twist
Lift one knee (e.g., right knee) toward hip height (or as high as comfortable). At the same time, twist your torso toward the opposite side (i.e., turn your upper body to the left). Your arms can move naturally (elbow up) to help balance the twist. - Return & alternate
Lower your leg and untwist your torso back to center. Then repeat on the other side (left knee up, twist right). - Keep control
Move slowly and with intention. Don’t throw your arms around or twist from the hips too abruptly. The movement should originate from your waist/core. - Reps & sets
Aim for 12–20 reps per side (i.e., 24–40 total alternating). Start with 1–2 sets and increase to 3 sets if you feel steady and uninjured.
Tips for best results
- Engage your lower belly (draw it in) as you twist.
- Don’t over-twist — your spine should remain neutral.
- Let your arms assist for balance, but don’t use them to drive the motion.
Standing Russian Twists
Standing Russian Twists are a clever way to engage your obliques, transverse abdominis, and the rotational muscles of the core, all while standing, making them suitable for your home (or barn) setup.
Because you’re twisting while upright, you also recruit more stabilizer muscles to keep balance, which adds to the effectiveness for firming up the waist.
How to Perform It
- Starting stance
Stand with your feet about shoulder-width apart. Slightly soften your knees (don’t lock them). Keep your spine tall and your chest lifted.
Arms in position
Extend your arms straight in front of you (or bring elbows in) at chest height. You can clasp your hands, hold an imaginary object, or keep them relaxed — the idea is that they move with your torso. - Twist motion
Rotate your upper body to the right, bringing your clasped hands (or arms) across your torso. Use your core to initiate the twist — don’t just swing with your arms. - Return & switch
Rotate back through center to the left, then continue alternating side to side in a controlled manner. - Reps & sets
Aim for 12–20 twists per side (i.e., 24–40 total). Begin with 1–2 sets, then build to 3 as you grow stronger.
Tips for best results
- Keep your hips facing forward — the twist should come from your rib cage/core, not from your lower body swinging.
- Engage (draw in) your lower belly as you twist, to protect your spine.
- Move deliberately, not too fast — the control is what gives you the benefit.
- If you feel unsteady, widen your base a little (step your feet slightly further apart) to stabilize.
Standing Bicycle Crunches
Standing Bicycle Crunches are a smart alternative to the floor version. Because you perform them upright, they’re gentler on your neck and back, and they engage your core and stabilizers to maintain balance.
How to Perform It
- Start upright
Stand tall with your feet shoulder-width apart. Soft knees, tall spine. Hands go behind your head (or lightly touch behind your ears), elbows wide. - Engage your core
Draw in your lower belly so your core is activated before motion begins. - Crunch + twist motion
Lift your right knee toward your left elbow while simultaneously twisting your torso so your left elbow moves toward that knee. The idea is like doing a bicycle crunch, but standing. - Return & alternate
Lower back to center, untwist, and then repeat on the other side (left knee to right elbow). Continue alternating in a slow, controlled fashion. - Reps & sets
Try 12–20 reps per side (i.e., 24–40 twists) for each exercise. Start with 1–2 sets and increase as you build core strength.
Tips for better form
- Don’t use momentum — the twist and crunch should be driven by your core, not your arms or momentum.
- Keep your back straight. Don’t lean forward or backward.
- If the full twist feels too intense, just bring the knee and elbow partially toward each other, not the full range — build up gradually.
Disclaimer
The information provided in this article is for educational and informational purposes only and is not intended as medical advice. Always consult your doctor or other qualified healthcare provider before starting any new exercise program, especially if you have existing health conditions, injuries, or concerns. Perform exercises at your own risk. The author and website assume no responsibility for any injuries or health issues that may result from following the exercises described.
Disclaimer: This article is for general information only and is not professional advice. It may contain affiliate links. Please see our full Editorial Policy for details.

Kylie Lang is a nationally syndicated travel journalist with bylines on the Associated Press Wire & more, a lifestyle writer, and the founder and editor of Your Lifestyle Library (yourlifestylelibrary.com). She holds a BA (Honours) in History from the University of Kent and is a member of the British Guild of Travel Writers.