
I woke up yesterday morning with lower back pain, and I know the culprit. It was too much gardening. I just couldn’t help myself. The weather was fabulous, and I could see the difference my weeding was making, and I just didn’t want to stop.
I think it was the last 30 minutes of weeding that did it. But it’s not just gardening that’s making me ache. My body doesn’t have the same stamina it used to, and although I’m by no means over the hill and past it at 54, things ache that never used to ache after a session in the garden.
I’m lucky that one of my close friends here in southwest France, Becky, is a yoga teacher, and she usually finds me a stretch for every ache and pain. Yesterday was no exception, and she came up trumps yet again with 9 yoga moves to target the aching areas.
9 Yoga Moves to Help Eliminate Hip and Lower Back Pain
I should preface this by saying that gardening is not the enemy here, as it’s a proven fact that gardening is a great hobby and good for health. There are plenty of other reasons for hip and lower back pain.
If you spend most of your day sitting at a desk, in a car, or on a couch, you’re probably not helping things.
Becky explained that when you sit for long stretches, the hip flexor muscles that connect your spine to your thighs get locked in a shortened position. Over time, they stay that way. Those tight muscles pull your pelvis forward into what’s called an anterior pelvic tilt, which forces your lower spine into an unnatural curve.
That curve squeezes the vertebrae and strains the muscles around them. The result is persistent lower back pain.
However, stretching on its own won’t fix it. You need to stretch the front of the hips AND wake up the muscles at the back, particularly the glutes, which tend to switch off completely when you sit too much. These nine yoga moves do both.
Becky’s Top Tip Before You Start
Breathe through every pose. Inhale to prepare or lengthen, exhale to go deeper. Never push through sharp pain. A feeling of stretching or mild discomfort is normal, but pain isn’t.
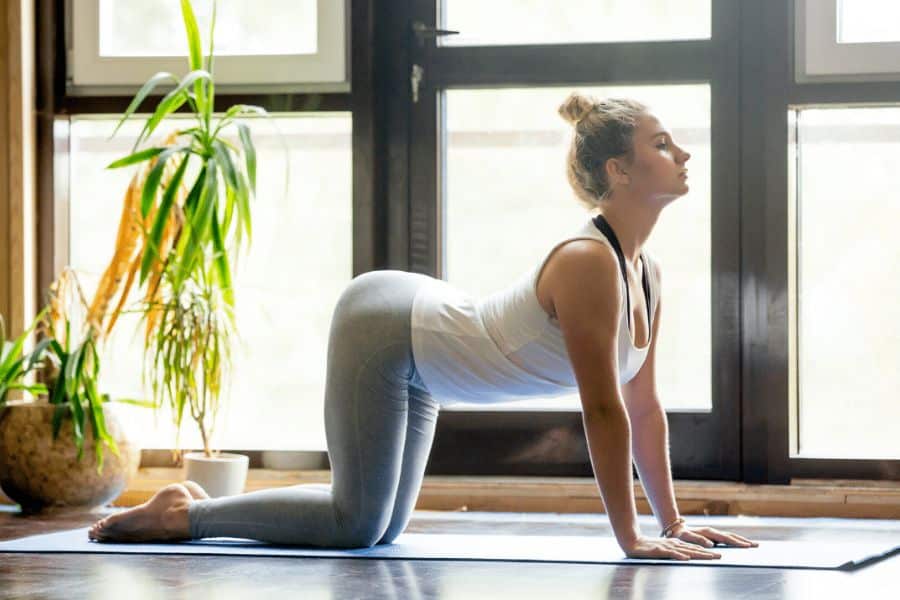
1. Cat-Cow (Warm-Up)
This is your warm-up, so always start with this move. Cat-Cow wakes up the spine and begins connecting your breath to the movement of your pelvis, which is exactly the preparation your hips need before anything else.
Flow between the two positions for about one minute, roughly 5 to 8 full breaths.
Start the movement from your pelvis, not your neck. Let your head follow the curve of your spine as the very last thing to move.
How to do it:
- Start on all fours, hands under your shoulders, knees under your hips.
- Inhale: let your belly drop toward the floor, lift your tailbone and chest, look gently upward.
- Exhale: press the floor away, round your spine upward, tuck your tailbone, and bring your chin toward your chest.
2. Glute Bridge
Most people skip straight to hip stretches and never address the other half of the problem. This move fixes that.
Sitting all day essentially puts your glutes to sleep. They stop firing the way they should, which means your lower back ends up doing work it was never designed to do. The Glute Bridge wakes them back up.
Do this for one full minute, holding the squeeze at the top for 3 seconds before lowering slowly.
Press through your heels and squeeze your glutes hard at the top. If you’re just arching your back to get height, your glutes aren’t doing the work.
How to do it:
- Lie on your back, knees bent, feet flat on the floor, hip-width apart. Your fingertips should just graze your heels.
- Inhale: press through your heels and lift your hips off the floor.
- Exhale: Squeeze your glutes firmly at the top, creating a straight line from shoulders to knees. Hold for 3 seconds, then lower slowly and repeat.
3. Pigeon Pose
This is one of the most effective hip openers in yoga, and it targets the outer hip muscles, including the piriformis. When the piriformis tightens, it can press on the sciatic nerve and send pain down the leg and into the lower back.
Hold for one minute on each side. Breathe into the tightness rather than bracing against it.
If your hip lifts off the floor, place a folded blanket or a firm cushion under it. This isn’t cheating. It’s correct alignment, and it allows the muscle to actually release.
How to do it:
- Start on all fours. Bring your right knee forward toward your right wrist, angling your right shin across the mat.
- Slide your left leg straight back, top of the foot on the floor.
- Take a breath upright, then walk your hands forward and fold over your front leg.
- Switch sides after one minute.
4. Low Lunge
This is the direct psoas stretch. The psoas is the main hip flexor muscle and the one most affected by prolonged sitting. When it’s tight, it constantly pulls your lumbar spine forward.
Hold for 30 seconds on each side.
Before you lunge forward, tuck your tailbone under, like you’re zipping up a tight pair of jeans. This small action immediately isolates the hip flexor. You’ll feel the stretch without needing to lunge very deep at all.
How to do it:
- From all fours, step your right foot forward between your hands.
- Stack your right knee directly over your right ankle.
- Slide your left knee back until you feel a stretch at the front of your left hip. Put a cushion under your left knee if you need to.
- Place your hands on your front thigh or raise them overhead for a deeper stretch.
- Switch sides after 30 seconds.
5. 90/90 Stretch
If Pigeon Pose is uncomfortable on your knees, this is the alternative. It works the same outer hip muscles without putting any pressure on the knee joint.
Hold for one minute on each side. You may not be able to lean far forward, and that’s fine. The goal is a stretch in the front glute and hip, not your chest on the floor.
How to do it:
- Sit on the floor.
- Bend your right leg in front of you with your shin parallel to the front of your mat (a 90-degree angle).
- Bend your left leg out to the side, thigh parallel to the side of your mat (another 90-degree angle).
- Keeping your back straight, slowly hinge at your hips and lean forward over your front shin.
- Switch sides after one minute.
6. Knee-to-Chest
This pose gently releases the muscles strained by your pelvic tilt and gives the spine a moment to decompress.
Hold for 30 seconds on each side.
While you pull one knee toward your chest, actively press the other straight leg down into the floor. That active push creates a deep stretch through the psoas on the extended side at the same time. Two stretches in one.
How to do it:
- Lie flat on your back.
- Bend your right knee and draw it toward your chest.
- Hold the back of your thigh or your shin with both hands.
- Keep your left leg straight and press it firmly into the floor.
- Switch sides after 30 seconds.
7. Supine Spinal Twist
This is the “finally” moment of the sequence. It releases tension in the lower back, outer hip, and glutes all at once, and most people let out a visible exhale the second they get into it.
Hold for 30 seconds on each side.
Keep both shoulder blades pinned to the floor as your knees drop. If your shoulders lift, bring your knees back up slightly. A true spinal twist only works if the upper body stays grounded.
How to do it:
- Lie on your back and draw both knees into your chest.
- Extend your arms out to the sides in a T shape.
- Let both knees fall gently to the right.
- Turn your head to the left, if that’s comfortable for your neck.
- Use your core to bring your knees back to center, then let them fall to the left.
8. Reclined Figure-Four
This is a gentler way to target the outer hip and glutes, and because you’re lying down, you have complete control over how deep the stretch goes. It’s ideal for anyone with sensitive knees.
Hold for one minute on each side.
Keep your head and shoulders flat on the floor and use your hands to pull your thigh in toward your chest. Avoid pushing your bent knee outward with your hand, which strains the knee joint rather than stretching the hip.
How to do it:
- Lie on your back, knees bent, feet flat.
- Cross your right ankle over your left thigh, just above the knee. Keep your right foot flexed.
- Reach through your legs and hold the back of your left thigh.
- Gently pull your left thigh toward you until you feel a stretch in your right glute.
- Switch sides after one minute.
9. Child’s Pose (Cool-Down)
Child’s Pose is a resting stretch that lets your hips, lower back, and nervous system settle after everything you’ve just done.
Hold for one to two minutes. Focus entirely on your breath.
Bring your knees wide rather than keeping them together. This creates more space for your torso to sink down and gives you a deeper stretch through the inner thighs at the same time.
How to do it:
- From all fours, bring your big toes to touch.
- Separate your knees as wide as your mat, or as wide as feels right.
- Send your hips back toward your heels.
- Walk your hands forward and rest your forehead on the mat.
- Breathe slowly and let everything go.
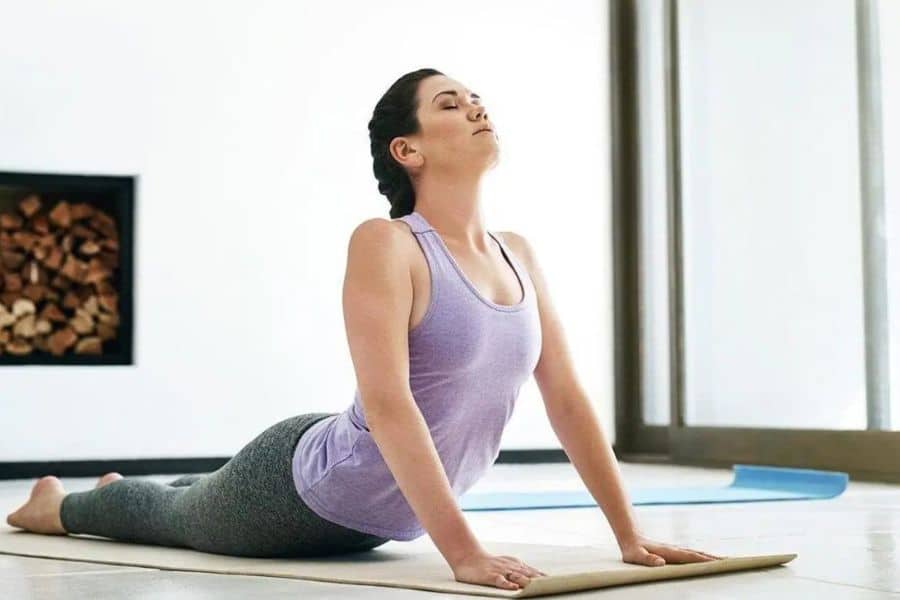
That’s 15 minutes. Done consistently, this sequence can make a real difference to how your hips and lower back feel day to day. Start tomorrow morning and see where you are by the end of the week.
Disclaimer: This article is for informational purposes only. If you have an existing injury or medical condition, check with your healthcare provider before starting a new exercise routine.