
I love that moment in March as you start to feel spring arrive. That’s happened for me here in my part of southwest France, and we’ve had wonderful temperatures in the low 70s, and I’ve been starting to rescue my garden from winter’s clutches. We’ve had our last frost for the winter now, so I’m starting to plant some of my shrubs.
Planting shrubs and small trees after the last hard frost gives their roots time to settle into warming soil before summer heat arrives. They get established without the stress of scorching temperatures, and by the time the season hits full swing, they’re ready.
But not all plants respond the same way to early spring planting. Some are forgiving. Others need specific conditions, or they’ll struggle from the start. Plus, it all depends on your USDA hardiness zone.
First, What Are Hardiness Zones?
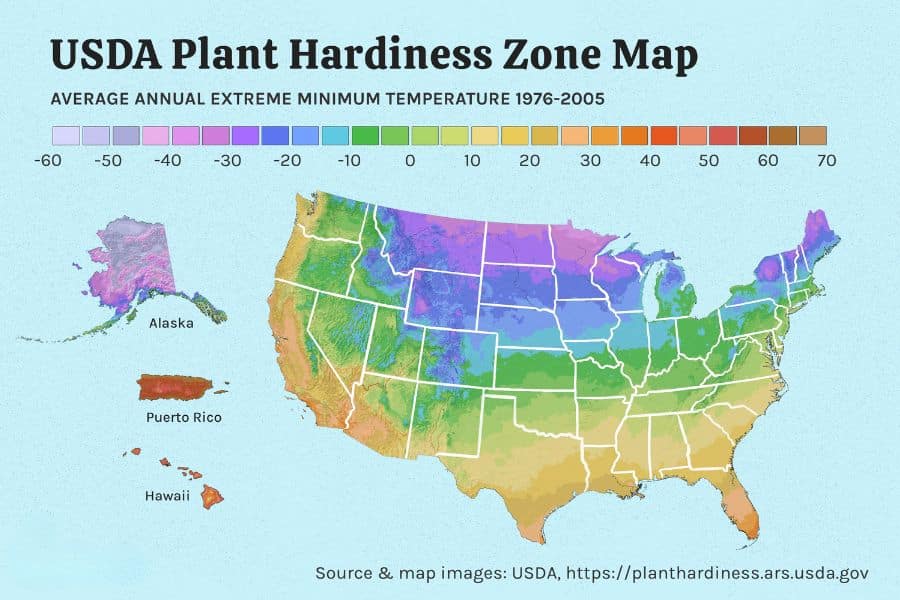
You’ll see zone numbers mentioned throughout this article. They’re worth understanding.
The USDA Plant Hardiness Zone Map divides the US into zones based on average annual minimum winter temperatures. Zone 3 is extremely cold, Zone 9 is warm and mild. Most of the continental US falls between Zones 5 and 8.
If a plant is listed as hardy to Zone 5, it can survive winters in your area as long as you’re in Zone 5 or above. You can find your zone by searching the USDA Plant Hardiness Zone Map with your zip code. It takes about 10 seconds and saves you a lot of heartache at the garden center.
Spring Bloomers
Azalea (Zones 5 to 9)
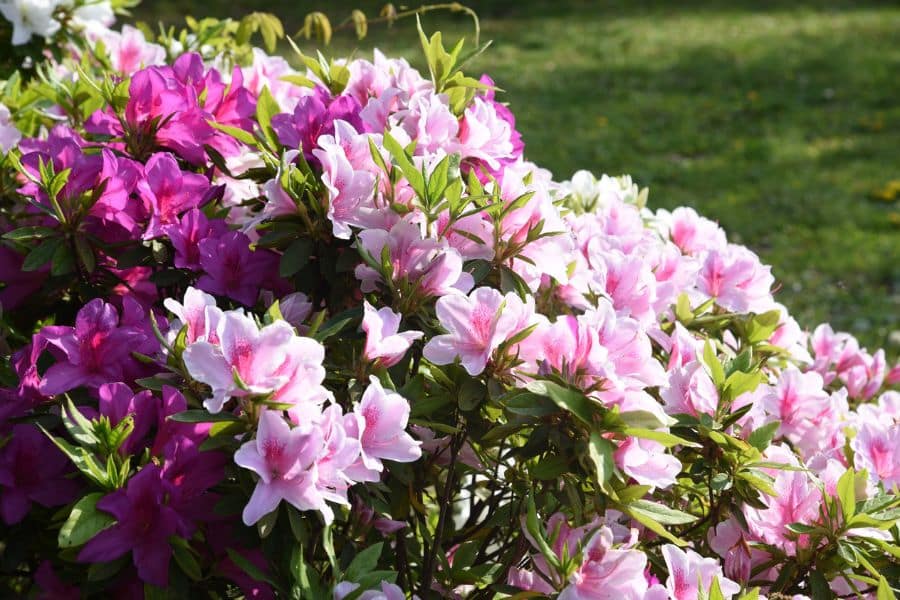
Few shrubs deliver the visual impact of an azalea in full bloom with their explosion of pink, red, white, or coral color.
Plant after the last hard frost in rich, acidic soil with a pH between 4.5 and 6.0. If you’re not sure whether your soil is acidic enough, a simple soil test kit from any garden center will tell you in minutes. Most garden centers also carry acidifying fertilizer if your soil needs a boost.
Dig your hole twice as wide as the root ball but only as deep as it is tall. Azaleas have shallow, fibrous roots that sit close to the surface, which means mulching around the base is essential rather than optional. A 2 to 3 inch layer of pine bark or pine needle mulch keeps moisture in, regulates soil temperature, and slowly acidifies the soil as it breaks down.
What you don’t want to do is cultivate around the base with a hoe or trowel. Digging near those shallow roots damages them more than most people realize, and an azalea under stress shows it immediately.
Water deeply after planting and keep the soil consistently moist through the first growing season.
Get those conditions right, and azaleas are surprisingly low-maintenance, so perfect for the lazy gardener.
Camellia (Zones 7 to 9)
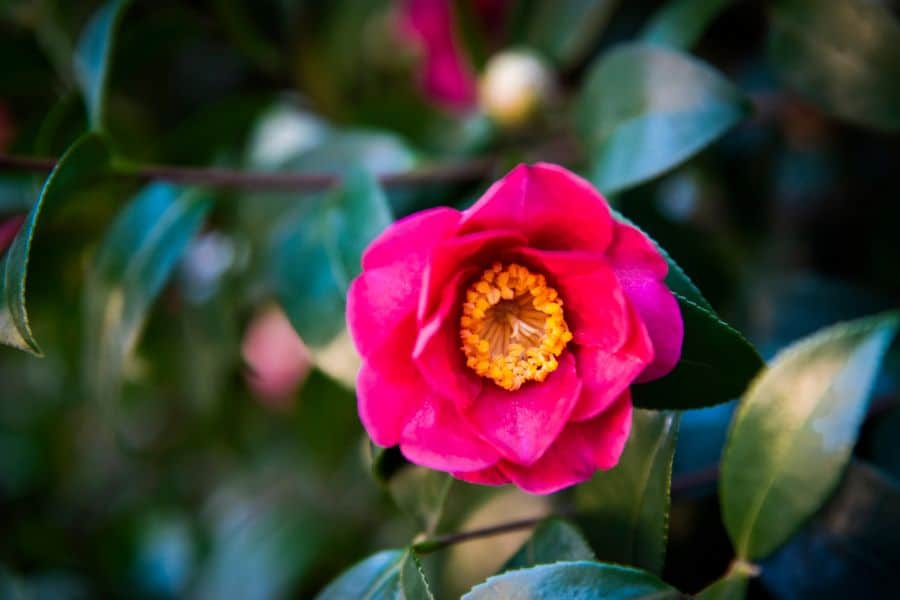
Camellias have a reputation for being fussy, but that reputation is mostly undeserved if you plant them correctly from the beginning.
Choose a spot with filtered light and morning sun. Direct afternoon sun, particularly in warmer zones, scorches the blooms and stresses the plant before it gets a chance to settle. The east or north side of a building or under a high tree canopy is ideal.
Like azaleas, camellias need acidic, well-draining soil. Work in plenty of compost before planting and avoid placing the root ball too deep. The top of the root ball should sit just slightly above the surrounding soil level. Plant too deep and the roots suffocate.
Water well after planting and mulch generously, keeping the mulch a few inches away from the main stem. Camellias bloom in late winter or early spring, depending on the variety, which means you could have flowers when almost nothing else in the garden is showing any life at all. That alone makes them worth the effort.
March planting gives roots time to get comfortable before summer heat arrives. Once settled, they are remarkably reliable.
Mock Orange (Zones 4 to 8)
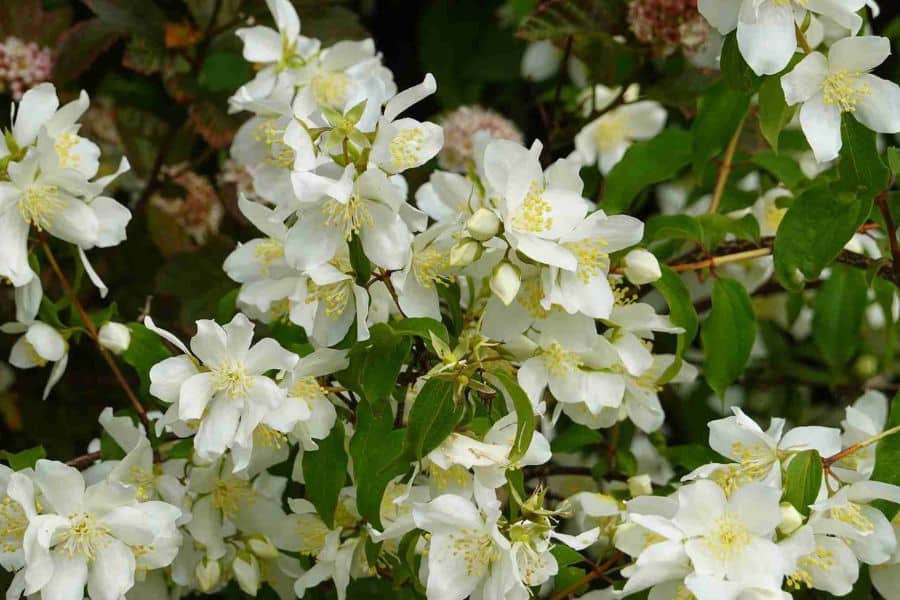
Mock orange produces fragrant white blooms by early summer that carry the scent across an entire yard. Some people say it smells exactly like orange blossom. Others say it’s sweeter. Either way, it’s one of those scents that stops you in your tracks the first time you smell it drifting across a warm evening.
Plant in full sun to partial shade in any reasonably fertile, well-drained soil. It’s not fussy about soil type the way azaleas and camellias are. Dig a hole twice the width of the root ball, work in some compost, and water it in well. That’s honestly most of what it needs.
It establishes quickly and starts putting on growth in the first season. After flowering, prune the oldest stems back to the ground to keep the plant open and productive. Left unpruned, mock orange gets dense in the center and produces fewer flowers. A light tidy after blooming is all it asks for.
It’s vigorous once rooted, and for some people, it’s a little too enthusiastic, as it does have a tendency to take over, so be careful where you decide to plant it.
Witch Hazel (Zones 3 to 8)
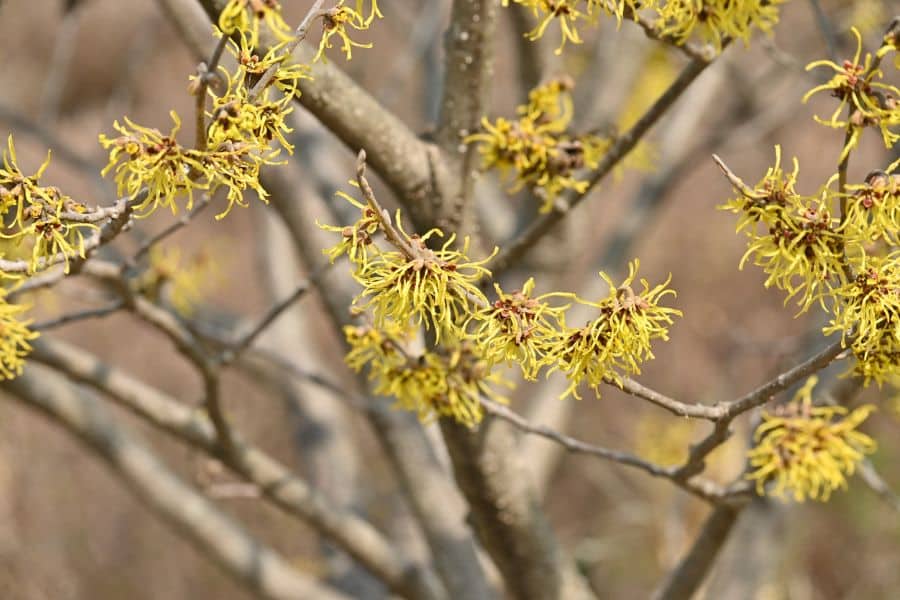
Witch hazel is often the earliest bloomer in the garden, sometimes flowering before the snow has fully melted, producing spidery yellow, orange, or red flowers on bare branches when the rest of the garden looks completely dead.
Native Americans used it medicinally for centuries before European settlers arrived. The bark and leaves were boiled to treat skin inflammation, muscle aches, insect bites, and bruising. Colonists quickly adopted those same uses, and by the mid-1800s, commercial witch hazel extract was being produced in Connecticut.
That same extract is still sold in pharmacies today, used in toners, hemorrhoid creams, and after-sun products. The bottle of witch hazel in your medicine cabinet came from the same plant you can grow in your garden.
Plant in part shade in moist, well-drained, slightly acidic soil. It handles clay better than most shrubs, which makes it genuinely useful in gardens where drainage is a problem. Dig a generous hole, amend with compost, and water deeply after planting. Witch hazel establishes steadily rather than quickly, so don’t be alarmed if it seems quiet in its first year. It’s building roots, not putting on a show.
Fall color is spectacular too, turning yellow, orange, and red before the leaves drop and those extraordinary winter flowers appear. It’s a three-season plant hiding in plain sight.
Foliage and Structure
Ninebark (Zones 2 to 8)
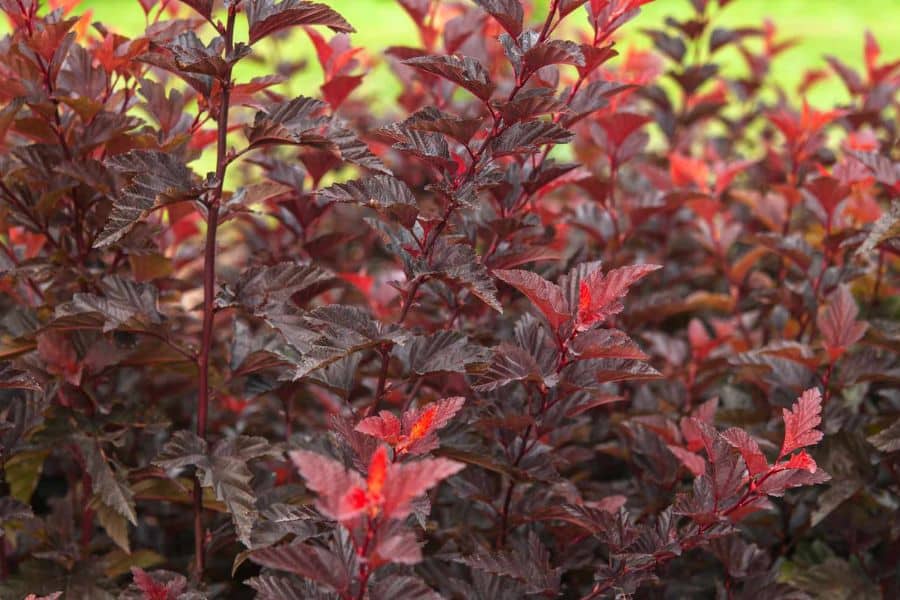
Ninebark is as tough as garden shrubs come. The name comes from the bark, which peels in thin layers, revealing multiple colors underneath. It looks particularly interesting in winter when the stems are bare, and that exfoliating bark is on full display.
It adapts to almost any soil, tolerates drought once established, handles both sun and partial shade, and builds roots quickly after spring planting. If you have a difficult spot in the garden where other shrubs have failed, ninebark is worth trying.
The deep burgundy varieties, such as Diablo and Summer Wine, give you rich, dark foliage from spring right through to fall. Planted in full sun, the color stays intense all season. In shade, it fades slightly toward green, which still looks attractive but loses some of that drama.
Plant in well-drained soil, water in well, and apply a layer of mulch. In subsequent years, prune a third of the oldest stems to the ground each spring to keep the plant producing fresh growth with the best color.
Smokebush (Zones 5 to 8)
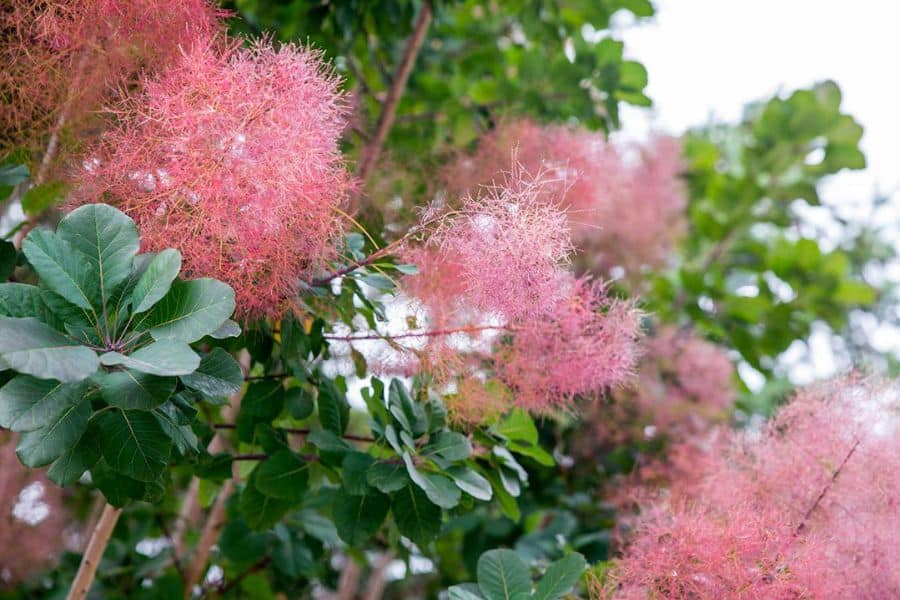
The common name comes from the fluffy, smoke-like seed heads that appear after flowering, creating a hazy, billowing effect that looks like smoke from a distance. But it’s the foliage that most people grow it for. The purple varieties hold their color through summer, and the chartreuse types glow in a way that few other plants can match.
Plant in full sun in well-drained soil. Smokebush is drought tolerant once established and actually performs better in lean soil than in overly rich, moist conditions. Too much fertilizer pushes lush green growth at the expense of that distinctive foliage color.
Dig the hole, mix in minimal compost, plant at the same depth as the root ball, and water well. It sets roots fast in warming March soil.
One thing worth knowing: smokebush gets big. Some varieties reach 10 to 15 feet if left unpruned. You can cut it back hard each spring to keep it smaller and encourage the largest, most colorful leaves, but you’ll sacrifice the smoky seed heads that make it so distinctive. Decide what you want from it before you prune.
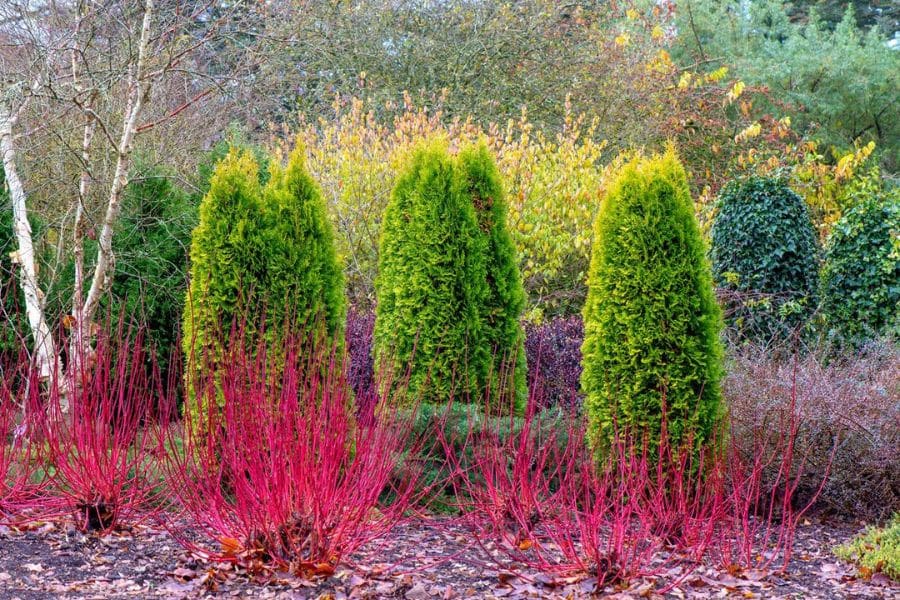
Red Twig Dogwood (Zones 3 to 8)
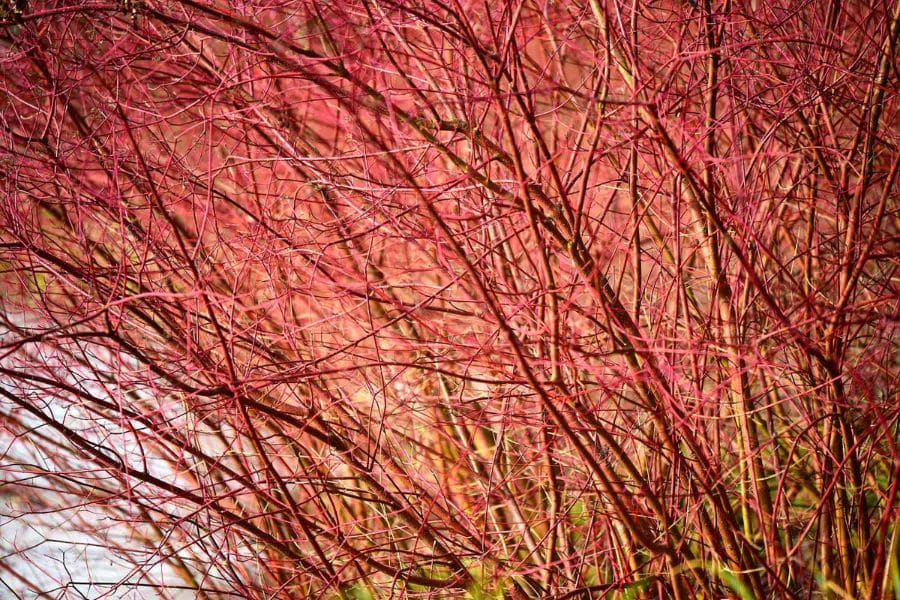
Most shrubs look their worst after the leaves drop. Red twig dogwood looks its best.
The bright red stems are striking against snow or bare winter soil. The younger stems are the reddest, which means regular pruning actually improves the winter display rather than diminishing it. Every spring, cut about a third of the oldest, darkest stems to the ground, and the plant responds by pushing bright new growth that will give you the best color next winter.
Plant in moist soil in full sun to partial shade. It tolerates wet conditions that would rot most shrubs, making it a smart choice for low-lying areas or spots near downspouts where water pools after rain. Work in compost, plant at the correct depth, and water thoroughly.
In spring and summer, it produces clusters of small white flowers followed by white berries that birds find irresistible. Fall color adds another layer of interest before the leaves drop, and those red stems take center stage again.
It spreads gradually by suckering, forming a colony over time. If you want to keep it contained, remove the suckers as they appear each spring. If you have space and want a larger mass planting, let it spread.
Flowering Dogwood (Zones 5 to 8)
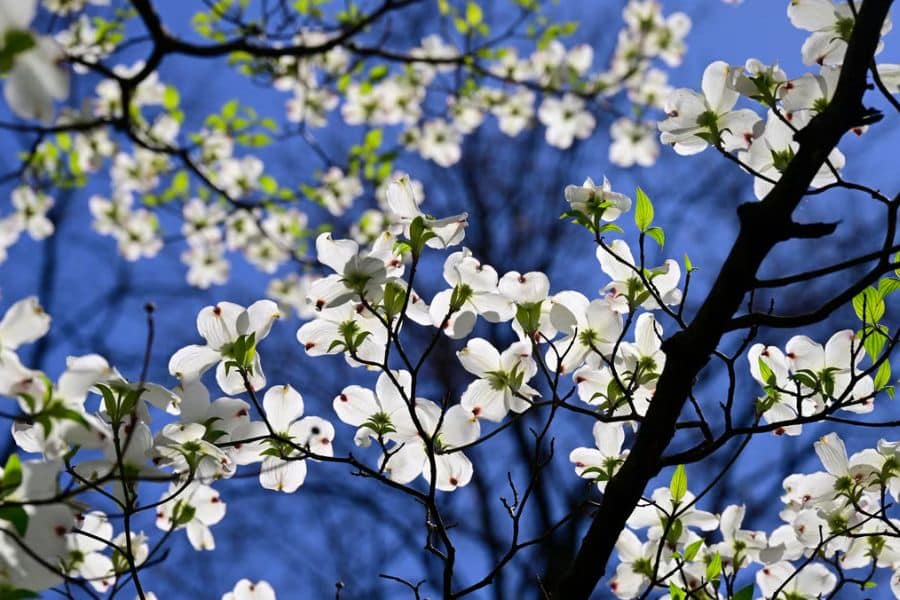
Spring brings the famous blooms, technically bracts rather than true flowers, in white or pink. Summer offers clean, green foliage and good shade for a small tree. Fall turns the leaves red and orange while the berries ripen to red, attracting birds from across the neighborhood.
Its roots establish quickly before leaf-out, making March one of the best planting times. Choose a spot with morning sun and afternoon shade. Flowering dogwood is a woodland edge tree in the wild, and it performs best when you replicate those conditions rather than planting it in full, baking sun.
Amend the planting hole with compost, keep the root flare at or slightly above soil level, mulch generously, and water deeply every week through the first growing season. It’s worth taking care of during establishment because a well-planted flowering dogwood will outlive most of us.
Wildlife Value
Serviceberry (Zones 4 to 9)
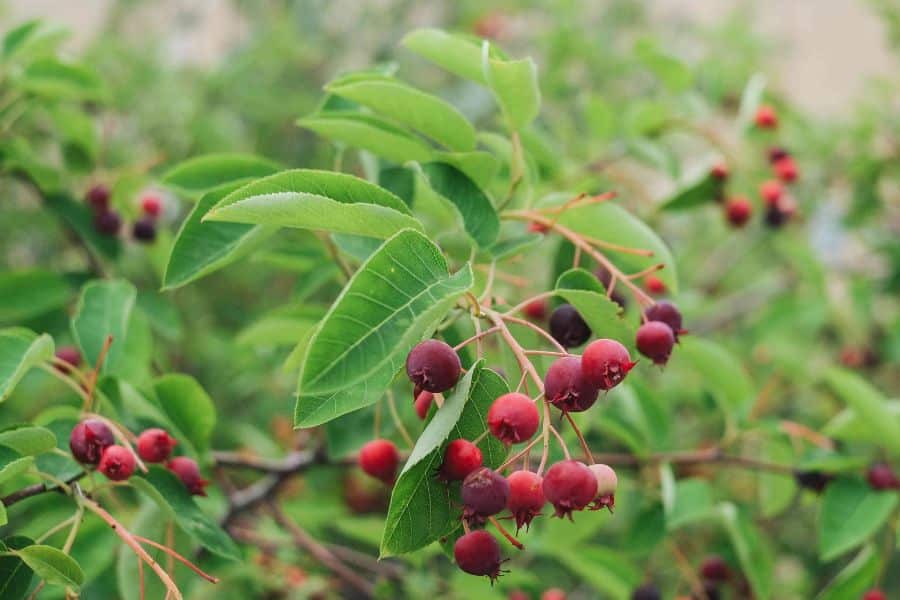
Serviceberry was named by early American settlers who noticed it bloomed around the time the ground thawed enough to bury those who had died over winter.
The flowers appear in early spring before the leaves open, covering the branches in small white clusters that look delicate against still-bare trees. By June, the berries ripen, turning from red to deep purple. They taste somewhere between a blueberry and a mild cherry, and they’re genuinely good eating.
The problem is that birds know exactly when they’re ready, sometimes before you do, so you’re in competition from day one.
Plant in full sun to partial shade in moist, well-drained soil. It tolerates a range of soil types and handles occasional wet conditions. Work in compost, water well after planting, and mulch to retain moisture through the first summer. Spring planting gives roots time to settle before fruiting season, which means a better fruit set in the first year.
Beautyberry (Zones 5 to 8)
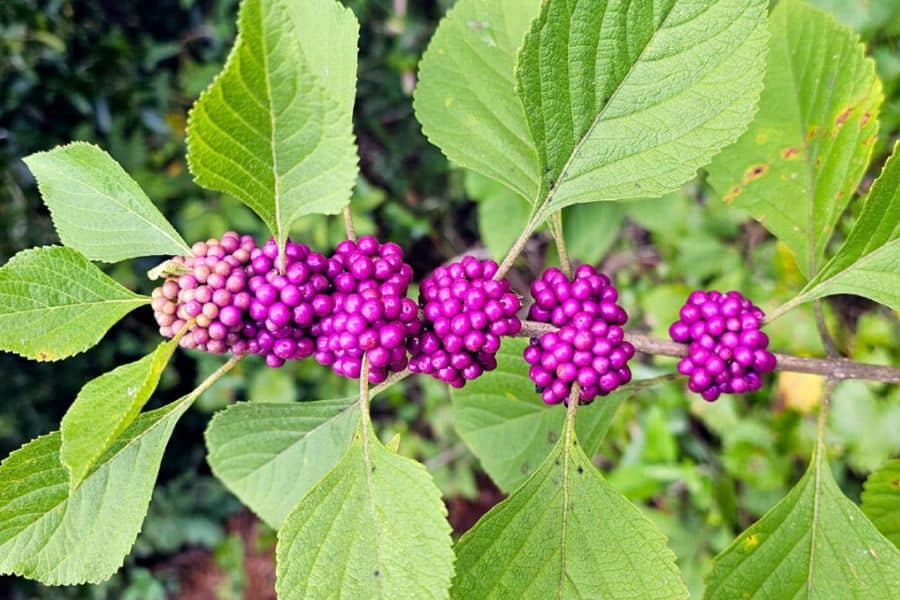
In the fall, the branches are covered in clusters of intensely purple berries. Songbirds rely on those berries as a food source heading into winter, which means a beautyberry in your garden brings serious bird activity from September onward.
Cut it back hard in early spring, right down to about 6 inches from the ground. Beautyberry blooms and fruits on new growth, so that aggressive pruning produces the most vigorous stems and the best berry display. A plant that wasn’t pruned properly often looks lanky and produces sparse clusters.
Plant in full sun to partial shade in well-drained soil. It’s not particular about soil quality and establishes readily from spring planting. Water regularly through the first season, then step back. Once established, it’s tough and largely self-sufficient.
Summersweet (Zones 4 to 9)

Got a wet spot where most shrubs give up? Plant summersweet.
It tolerates consistently moist to wet soil that would rot the roots of most plants, which makes it genuinely useful in the kind of low spots and rain garden areas that are otherwise hard to plant. It also handles partial to full shade, which extends its usefulness even further.
In midsummer, it produces spikes of small white or pink flowers with a spicy-sweet fragrance that carries on warm air and draws in bees, butterflies, and other pollinators in impressive numbers. The fragrance alone is worth planting it for.
Dig in plenty of compost to retain moisture, plant at the correct depth, and water regularly through the establishment period. It spreads slowly by suckering to form a colony, which is useful if you’re trying to stabilize a wet bank or fill a difficult shaded area. Fall foliage turns yellow, adding a final note of color before winter.
Sweetspire (Zones 5 to 9)
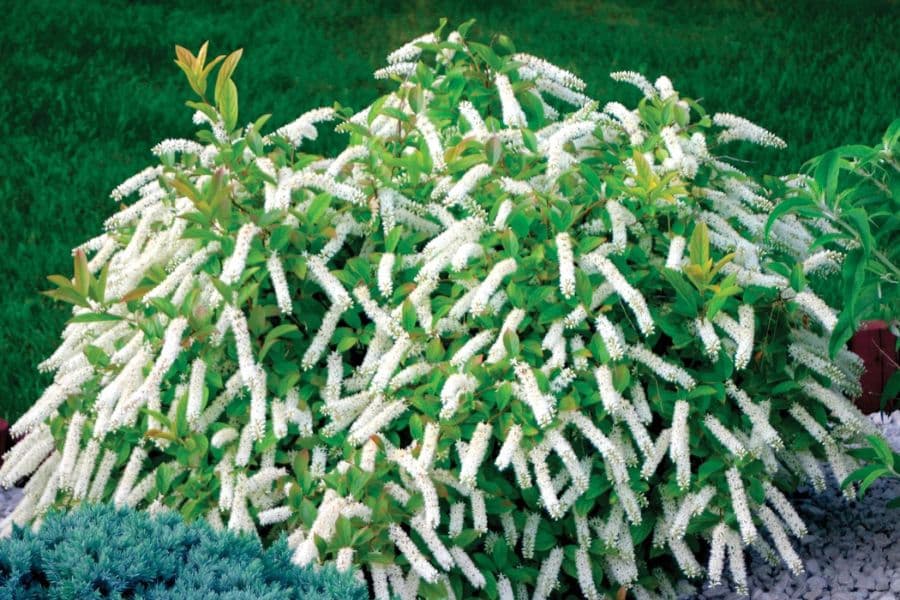
Sweetspire has white flower spikes that appear in early summer, and reliably pull in pollinators. Then fall arrives and sweetspire transforms, turning shades of orange, red, and deep purple that rival much flashier shrubs. The color often holds well into late fall, long after most other plants have dropped their leaves.
Plant in full sun to partial shade in moist, well-drained soil. It tolerates wet conditions and handles shade better than most flowering shrubs, which again makes it useful in tricky spots. Amend the planting hole with compost, water deeply after planting, and mulch well.
It’s one of the easier plants on this list to establish. If you’re newer to gardening and want reliable results without a steep learning curve, sweetspire is the kind of plant that builds your confidence. Put it in the ground in March, take reasonable care of it through the first season, and it will become one of the plants you couldn’t imagine the garden without.
Disclaimer: This article is for general information only and is not professional advice. It may contain affiliate links. Please see our full Editorial Policy for details.

Kylie Lang is a nationally syndicated travel journalist with bylines on the Associated Press Wire & more, a lifestyle writer, and the founder and editor of Your Lifestyle Library (yourlifestylelibrary.com). She holds a BA (Honours) in History from the University of Kent and is a member of the British Guild of Travel Writers.